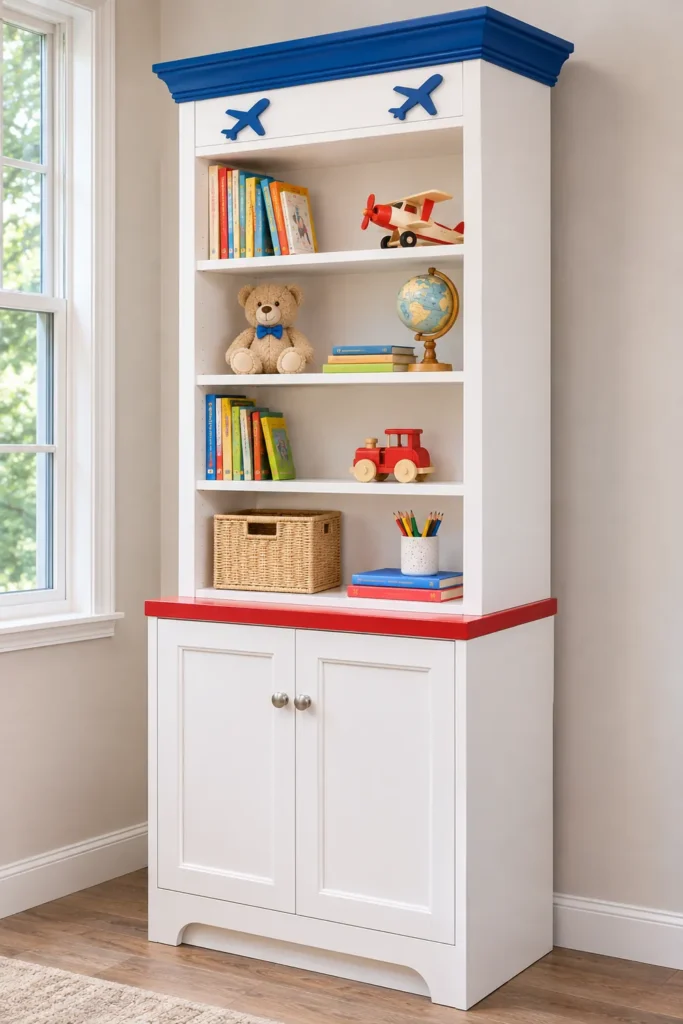

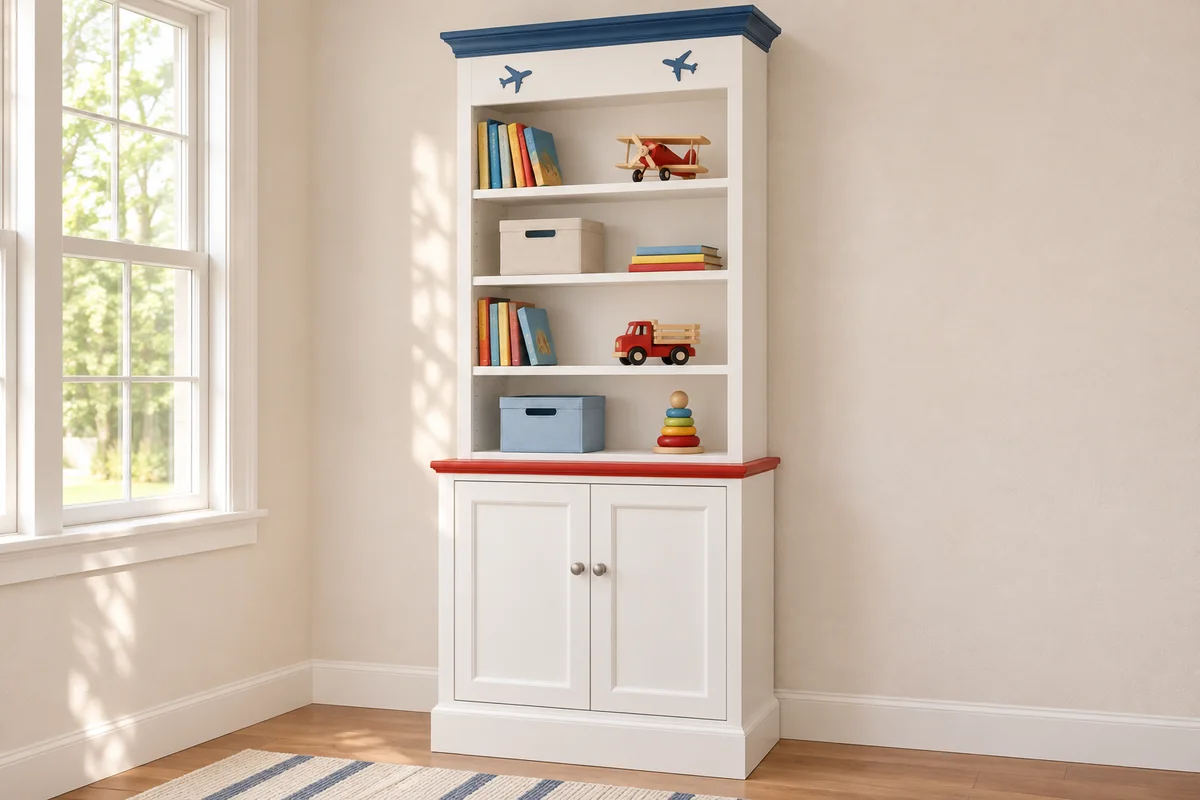
An airplane-themed kids bedroom built-in can make everyday storage more useful without turning the entire room into a themed display. The idea is to start with a white stock cabinet, add open shelving above it, and use red and blue trim with small airplane details to give the finished piece its own character. As your child’s interests grow and change, you can easily swap out the trim and accents for other themes or colors, making this built-in a flexible solution that adjusts to your family’s needs over time.
The lower cabinet keeps toys and other belongings out of sight, while the upper shelves provide space for books and favorite display pieces. Before cutting plywood or choosing finishes, first check the proportions and confirm that the design works with your bedroom wall.
Measure the Wall Before Choosing the Built-In Layout
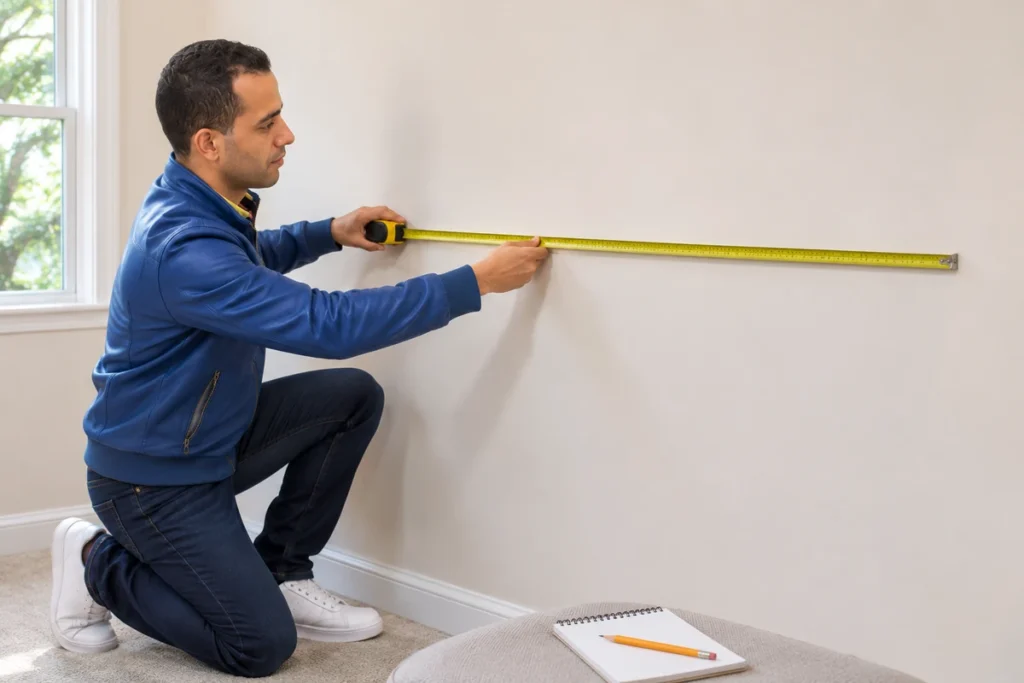
Start by measuring the wall where you want the built-in to stand. A stock cabinet gives you a convenient starting point, but the surrounding space determines whether the upper shelves, trim, and cabinet doors will work comfortably together. Once you have those measurements, you can compare the layout to the room.
The reference design uses a 30-inch-wide lower cabinet with a shallower bookcase above it. This retains the lower storage functionality while preventing the upper shelving from projecting as far into the room.
Here are the working dimensions:
| Component | Reference dimensions |
| Overall built-in | 30″W × 24″D × 78¼”H |
| Lower stock cabinet | 30″W × 24″D × 34½”H |
| Upper bookcase | 30″W × 12″D × 43″H |
| Intermediate deck | ¾” nominal thickness |
The lower cabinet dimensions are manufacturer-listed exterior measurements. The upper structure and overall height are proposed design dimensions, not measurements taken from an existing bedroom. Use these numbers as reference points when comparing the layout to your room.
Before committing to the layout:
- Measure the usable wall width. Take measurements at several heights rather than assuming the wall is perfectly straight. Allow for the actual trim and installation conditions.
- Check the ceiling height. Compare it with the complete assembly, including the intermediate deck and any finishing trim.
- Look for hindrances. Record baseboards, outlets, switches, heating equipment, window trim, and anything else that could interfere with placement. While you review the wall, make sure to identify and deal with potential safety hazards. Look for nearby cords, ensure there are no sharp corners within reach of children, and confirm that the built-in will not block doors, windows, or emergency exits. Taking these safety precautions helps create a secure and available space for your child.
- Check the cabinet doors. Make sure they can open without striking nearby furniture, walls, or other obstacles.
Use the dimensioned front elevation to understand the vertical arrangement and the side view to compare the two cabinet depths. The drawings are useful for adjusting the design before preparing a final cut list.
Loading interactive drawing…
If the available wall width differs from the reference design, adapt the layout around a cabinet size that suits the room rather than assuming every measurement can simply be scaled.
Choose a Stock Cabinet and Materials for the Upper Bookcase
The lower cabinet does most of the heavy lifting in terms of storage. Instead of constructing that entire section from scratch, the design uses a ready-made cabinet with doors, then adds a custom upper bookcase to complete the built-in.
For this layout, the selected reference cabinet is the Hampton Bay Avondale B30 in Alpine White. Its white factory finish works with the intended color scheme, while the closed doors provide storage for items that don’t need to remain on display.
The custom upper portion uses paintable birch plywood. This gives you control over the shelf arrangement, overall height, and decorative trim without relying on a prefabricated bookcase that may not match the cabinet below.
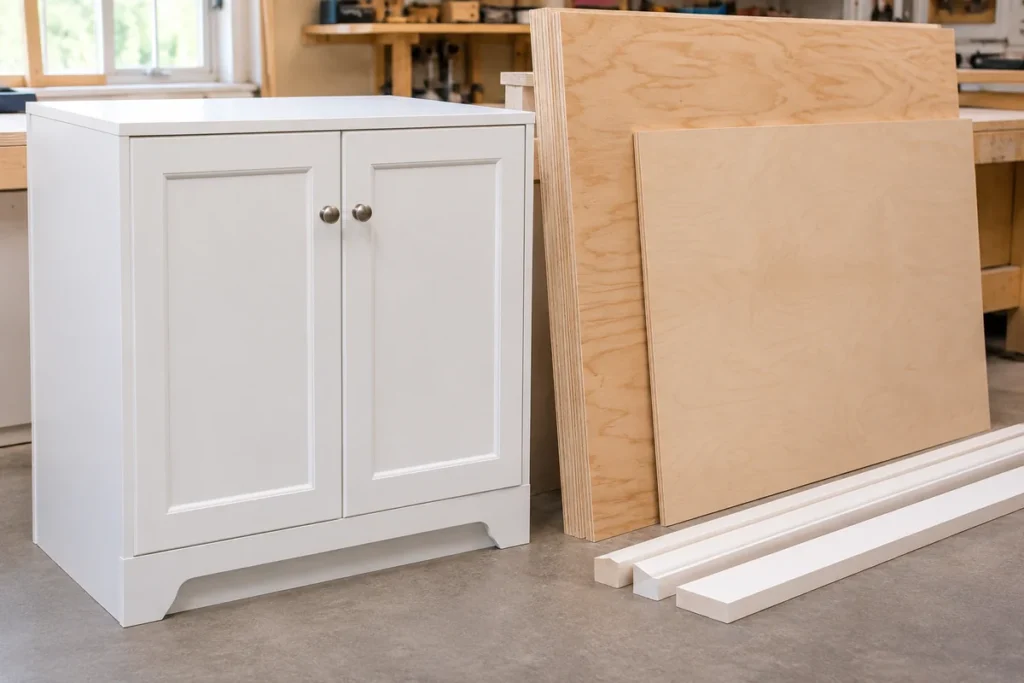
If you want to explore the general stock-cabinet approach before planning your own project, my guide to DIY built-in bookcases from stock cabinets explains the underlying idea.
Materials and Tools to Prepare
| Material or tool | Purpose |
| Hampton Bay Avondale B30 cabinet | Concealed lower storage |
| Birch plywood, approximately 0.703″ actual thickness | Upper side panels, top, and shelves |
| Thin plywood backing, approximately 0.188″ | Rear bookcase panel |
| Paintable wood trim | Front edges and decorative accents |
| Adjustable shelf supports | Allow shelf positions to change |
| Wood glue and appropriate cabinet screws | Selected wood connections, subject to joint detailing |
| Primer and compatible trim enamel | Finish the newly fabricated wood |
| Red and blue decorative finish | Create the airplane-inspired color accents |
| Tape measure, square, level, and clamps | Measure, align, and position components |
| Appropriate wood-cutting tools | Prepare panels after the cut plan is finalized |
The component dimensions are a starting point for preparing a material schedule, not a final shopping list. Plywood sheet quantities, fastening details, and the exact shelf hardware depend on the finalized construction layout, so confirm the plan before buying materials. Use the dimensions to guide planning, not as fixed purchase amounts.
One advantage of using a white factory-finished base cabinet is that you don’t necessarily need to repaint it. Concentrate the new finishing work on the plywood bookcase, exposed edges, and decorative trim.
For newly fabricated wood, prepare the surfaces according to the chosen primer and topcoat instructions. If you decide to change the factory cabinet’s color, its existing finish will need a separate adhesion and compatibility check before coating.
Keep the blue and red accents limited to selected trim rather than painting the entire unit in contrasting colors. A white bookcase with a blue crown detail and red transition trim provides a recognizable airplane theme while leaving plenty of visual space for books and toys.
Plan the Upper Shelves and Prepare the Panels
With the base cabinet size established, the next job is to work out how the upper bookcase fits together. The design uses two vertical plywood sides, a top panel, a thin backing panel, and three adjustable shelves, with painted face trim covering the exposed front edges and giving the upper section a more finished appearance.
The proposed bookcase is 30 inches wide, 12 inches deep, and 43 inches high. Using plywood with an actual thickness of 0.703 inches leaves an internal width of approximately 28.594 inches between the side panels. The reference cut list calls for two sides at 43 by 12 inches, one top at 30 by 12 inches, one backing panel sized to fit, and three shelves at 28.469 by 11.25 inches, allowing a small amount of side clearance. Treat these as design dimensions, not site measurements.
These measurements are useful for checking the layout, but the final cutting dimensions must also account for the selected joints, backing arrangement, and shelf-support hardware.
Before cutting the panels:
- Review the front and side drawings. Identify the side panels, top, backing, shelves, and trim so you understand how each component relates to the others.
- Prepare a panel layout. Arrange the proposed parts on the plywood sheet, accounting for saw kerf, grain direction, the finished edges that will remain visible, and the full cut list.
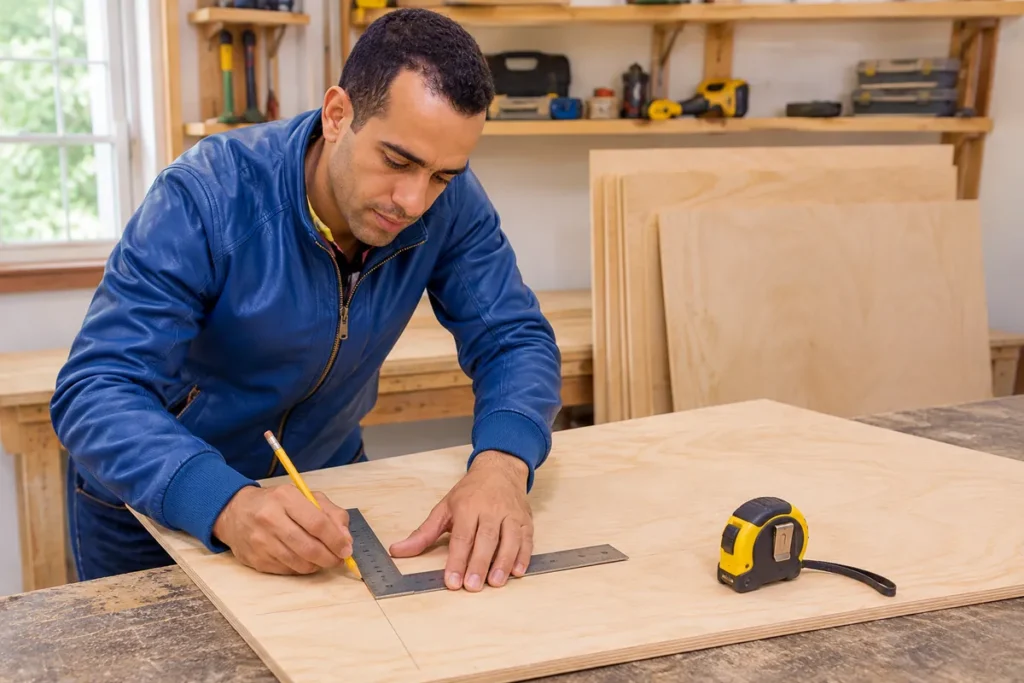
- Mark and label the components. Use a tape measure and square to identify each panel and the intended orientation. Keep the measurements clear enough to check before cutting.
- Check the shelf arrangement. Decide which shelf positions need to accommodate taller books or toys. The three adjustable shelves provide flexibility, but their support system and drilling pattern must be selected before making permanent holes.
The 3D model is especially useful here because it shows how the deeper cabinet base relates to the shallower bookcase. You can also see where the backing sits and how the shelves create separate open compartments.
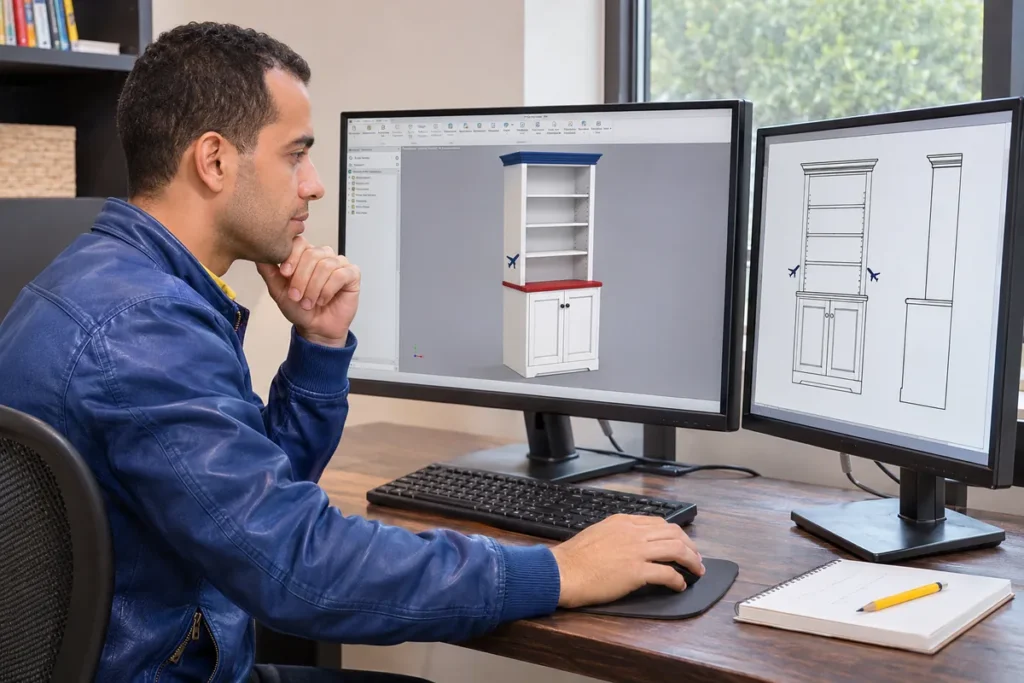
When the component dimensions and construction details have been finalized, the panels can be cut and their edges prepared for finishing. Before permanently joining anything, arrange the parts on a flat work surface and check their orientation, matching edges, and intended overall dimensions to confirm the layout.
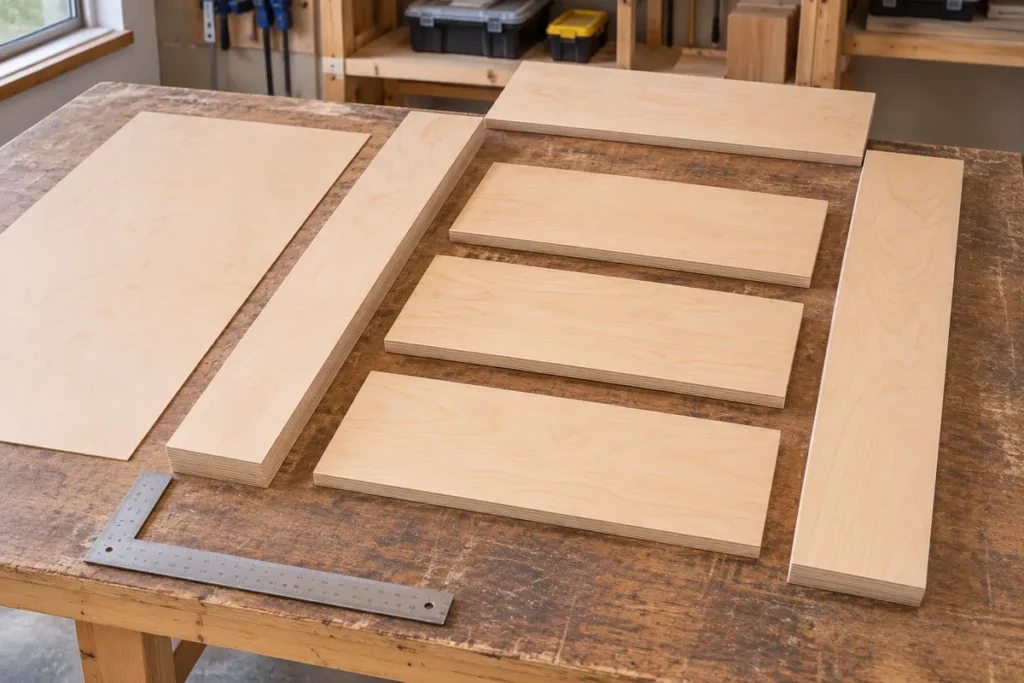
Dry-Fit the Cabinet and Resolve the Installation Details
A built-in needs to look straight and sit correctly against the surrounding wall. Positioning the lower cabinet first gives you a useful reference for checking the rest of the design before permanent installation begins.
Check the Cabinet Position and Alignment
Begin by placing the stock cabinet in its proposed location without permanently fastening it.
Use a level to check the cabinet from side to side and front to back. Check whether the floor slopes or the wall is out of plumb. Where necessary, temporary shims can help establish the required position for evaluating the layout.
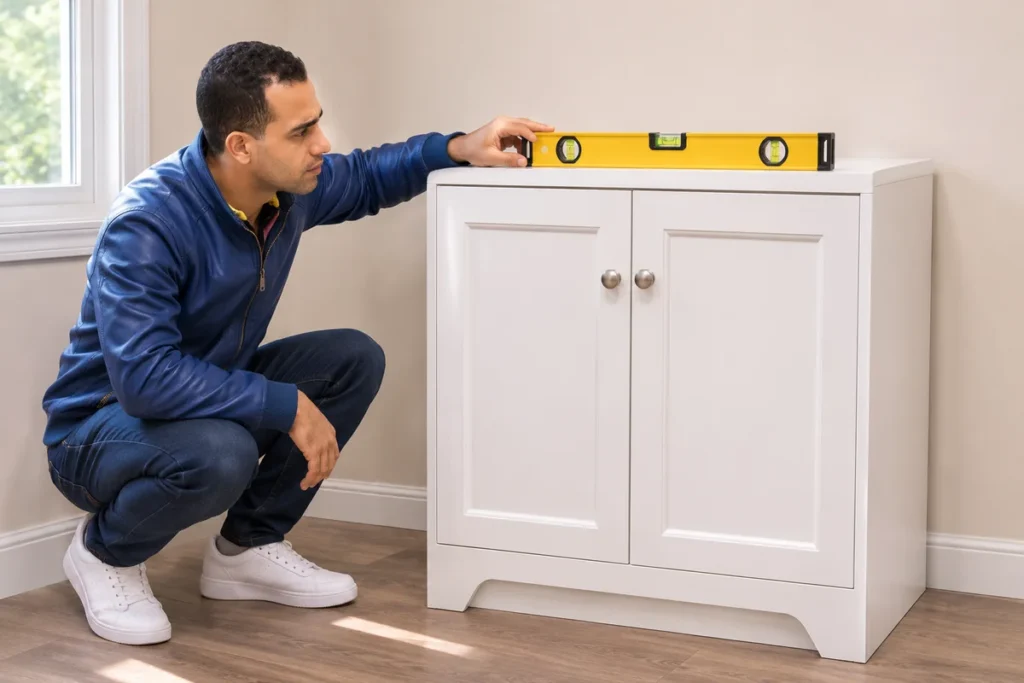
With the cabinet level, compare its position with the front elevation. Check the overall height against the available ceiling space and make sure the cabinet doors can open without obstruction.
This is also the time to confirm how the upper bookcase will line up with the lower cabinet. The front faces ought to follow the planned design, while the shallower upper section leaves the deeper cabinet top projecting forward.
Settle the Structural Connections Before Installation
The upper bookcase is more than a decorative addition. Its panels, shelves, books, and displayed objects introduce loads that must be properly supported and restrained, so the next step is to settle the structural connections.
Before permanent assembly or installation, the construction plan needs to establish:
- Upper bookcase joints: How the side panels, top, and backing will be joined to form a stable structure.
- Support between sections: How the upper structure and intermediate deck will transfer loads without relying on an unverified cabinet-top connection.
- Adjustable shelf hardware: Which supports will be used and what loads the completed shelves can safely carry.
- Wall anchoring: The actual wall construction, available framing, and suitable attachment method for preventing movement or tipping.
- Decorative attachments: How the airplane details will be secured without creating loose or easily detached parts within a child’s reach. All decorative pieces should be attached using child-safe hardware or strong adhesives specifically designed for use in children’s rooms. Avoid using small parts that could be removed or swallowed, and make sure that any decorations cannot be easily pried off or detached by curious hands. Prioritizing secure attachment methods helps ensure that the built-in remains safe and suitable for young children.
These decisions require hardware instructions and, where necessary, a qualified cabinet installer or carpenter who can evaluate the actual wall and assembly.
Once the connection methods and installation details are established, the builder is able to finalize the relevant cuts, fastening locations, and assembly sequence.
The important distinction is that measuring, positioning, and checking alignment can be completed during planning. Permanent structural assembly and anchoring must follow a connection design suited to the selected materials and the actual room conditions.
Add White Finishes, Colorful Trim, and Airplane Details
The finishing work is where the bookcase begins to take on its airplane theme. Rather than covering every surface in bright colors, keep the main shelving white and use red and blue on selected trim pieces so the decorative details stand out without drowning out the books and toys that will eventually fill the shelves.
The design uses a blue accent along the upper crown, a red trim band where the bookcase meets the lower cabinet, and two small airplane silhouettes as decorative features.
Before painting, prepare the newly fabricated wood panels and trim.
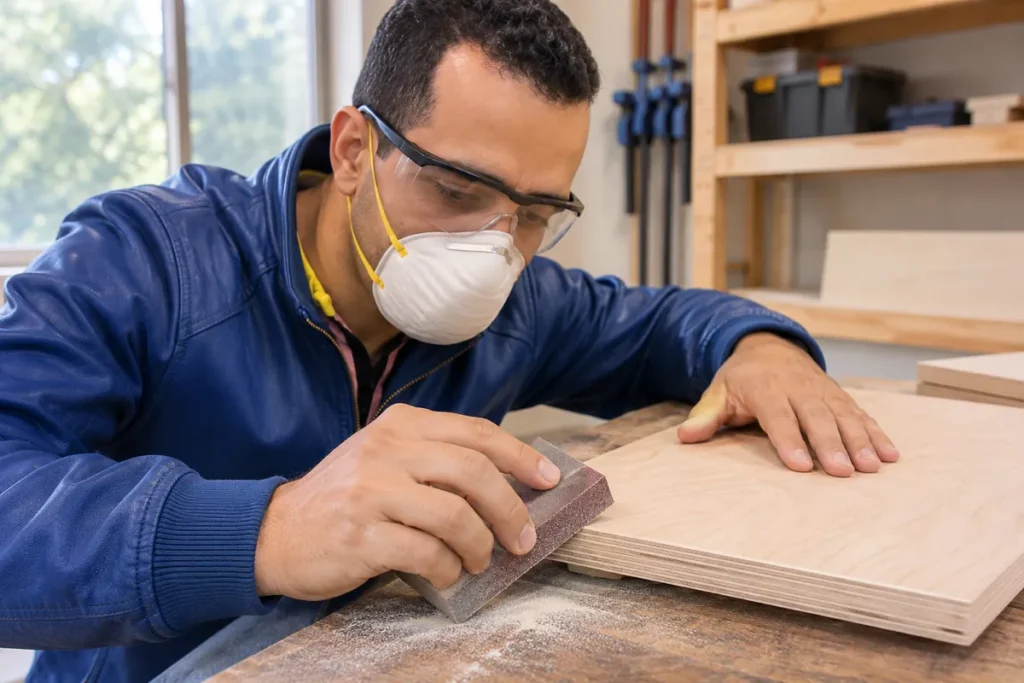
- Smooth the exposed edges. Sand the plywood edges and visible surfaces, removing rough spots and splinters. Pay particular attention to the shelf fronts and any areas children may touch.
- Prepare the plywood for painting. Remove sanding dust and use a primer compatible with the wood and chosen topcoat. Exposed plywood edges may need additional preparation to achieve a smooth painted finish.
- Apply the white finish. Use a suitable cabinet or trim enamel on the upper bookcase components, following the manufacturer’s application and recoating instructions.
- Finish the colored trim separately. Paint the crown accent blue and the transition trim red. Keeping these pieces separate during finishing makes it easier to maintain clean color boundaries.
- Prepare the airplane decorations. Smooth the edges of the custom silhouettes and finish them to coordinate with the shelving. Their final attachment method must suit the material and location.
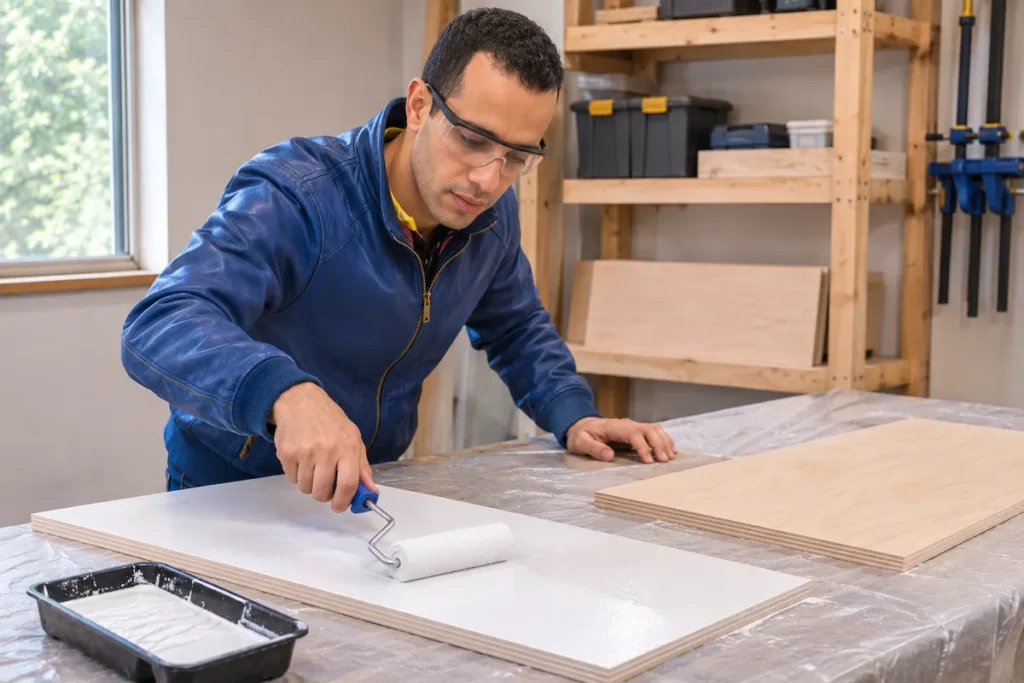
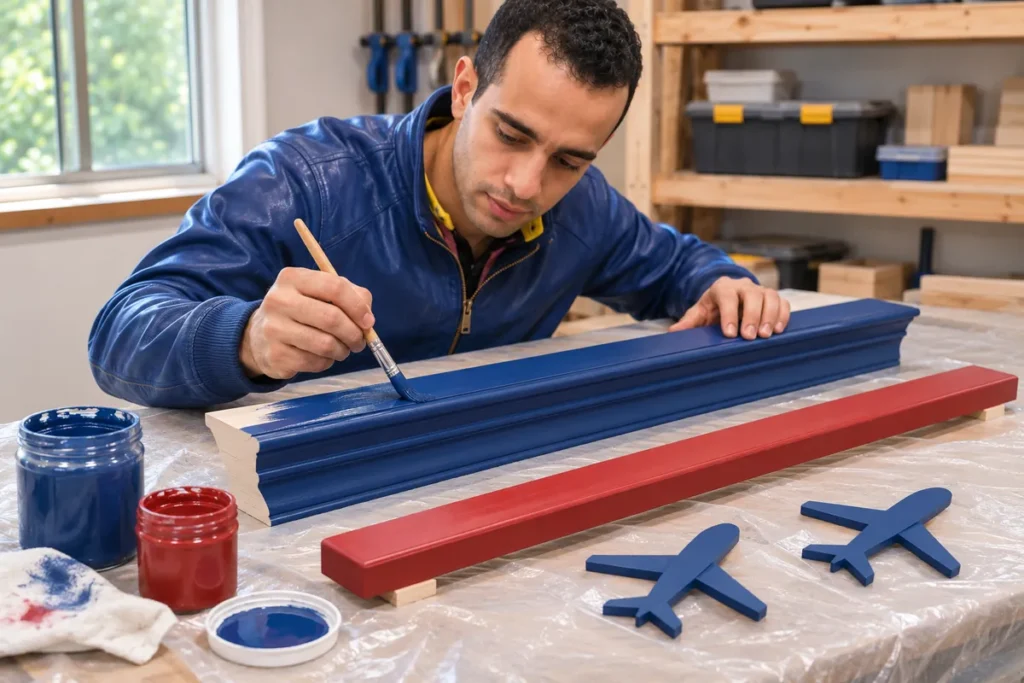
The lower stock cabinet already has a white factory finish, so the new upper section should be finished to coordinate with it. Test the selected white paint on a sample of the upper-bookcase material before coating all the visible panels, since different products can produce slightly different shades and sheens.
Sherwin-Williams Emerald Urethane Trim Enamel is one researched finishing option for the newly fabricated wood. Extreme Bond Primer is also a documented bonding-primer product, although its suitability depends on the surface being coated. If these brands are not available, comparable child-safe, low-VOC paints and primers designed for furniture or cabinetry can also be used. Look for water-based or acrylic products labeled as low-VOC and non-toxic, and always examine for compatibility with the surfaces you plan to coat. The complete primer and topcoat combination should be checked for compatibility before application.
Allow the coatings to dry and cure according to their product instructions before handling, assembling, or loading the finished components. The required timing depends on the selected finish and conditions.
Once the decorative trim is positioned, the result should still read as a traditional white built-in bookcase. The airplane theme comes from a few recognizable details rather than a complicated cabinet shape, which also makes it easier to update the room later.
Arrange Books and Toys Without Losing the Airplane Theme
The upper shelving works best when it balances everyday storage with a few decorative pieces. Filling every compartment with airplane accessories would leave less room for the books and toys the built-in is meant to organize.
Start with the items your child uses most often. Place suitable everyday books and toys on accessible shelves, and keep heavier items low. The lower cabinet is useful for storing larger toys, games, and belongings that would otherwise make the open shelving look crowded.
The three adjustable shelves let you change the compartment heights as storage needs evolve, provided the final shelf-support system is suitable for the intended contents. This pliability makes it easy to reconfigure the storage as your child grows, whether you need space for taller books, different toys, or different hobbies. Along with the removable decorative accents, you can update the look and function of the built-in over time without needing a complete remodel. These features guarantee that the storage solution stays useful and relevant, offering lasting value as your family’s needs change.
A simple arrangement can keep the display practical:
- Books: Group favorite titles where they are easy to see and reach.
- Toys: Leave room for a few regularly used items rather than filling every shelf.
- Airplane accents: Use the custom decorations as small visual highlights instead of crowding the compartments.
- Closed storage: Keep bulkier toys, games, and less frequently used belongings inside the lower cabinet.
Leave some open space between displayed objects. This makes the red and blue trim easier to appreciate and keeps the shelving from looking cluttered.
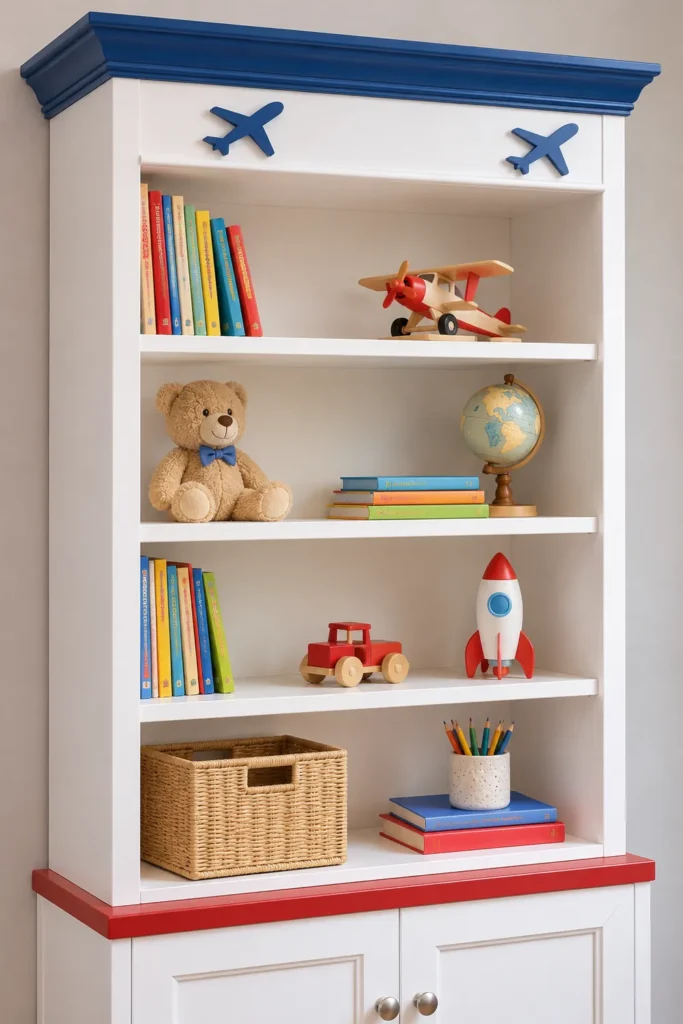
The advantage of using airplane details as accents is that the main cabinetry doesn’t depend on the theme. As your child’s interests change, books, toys, and removable decorations can change with them while the white built-in continues to provide useful storage.
The finished arrangement ought to feel like a functional part of the bedroom first, with just enough airplane character to make it personal.