
Summer decorating doesn’t have to mean changing everything in your home. A few bright colors and handmade details can make an ordinary space feel ready for sunny afternoons, backyard gatherings, and family fun.
One of my favorite ways to bring such a playful feeling into summer is with DIY Snow Cone Garland Decor. Those little colorful snow cones instantly remind me of warm days and sweet summer treats. They’re cheerful, easy to customize, and especially cute around a homemade snow cone station.
And if you love that colorful look, there are a few more simple projects worth trying. From fruit-painted planters to tropical candles and framed washi tape art, these three ideas bring summer personality into different corners of your home without requiring a major decorating project.
DIY Snow Cone Garland Decor for a Fun Summer Party Station
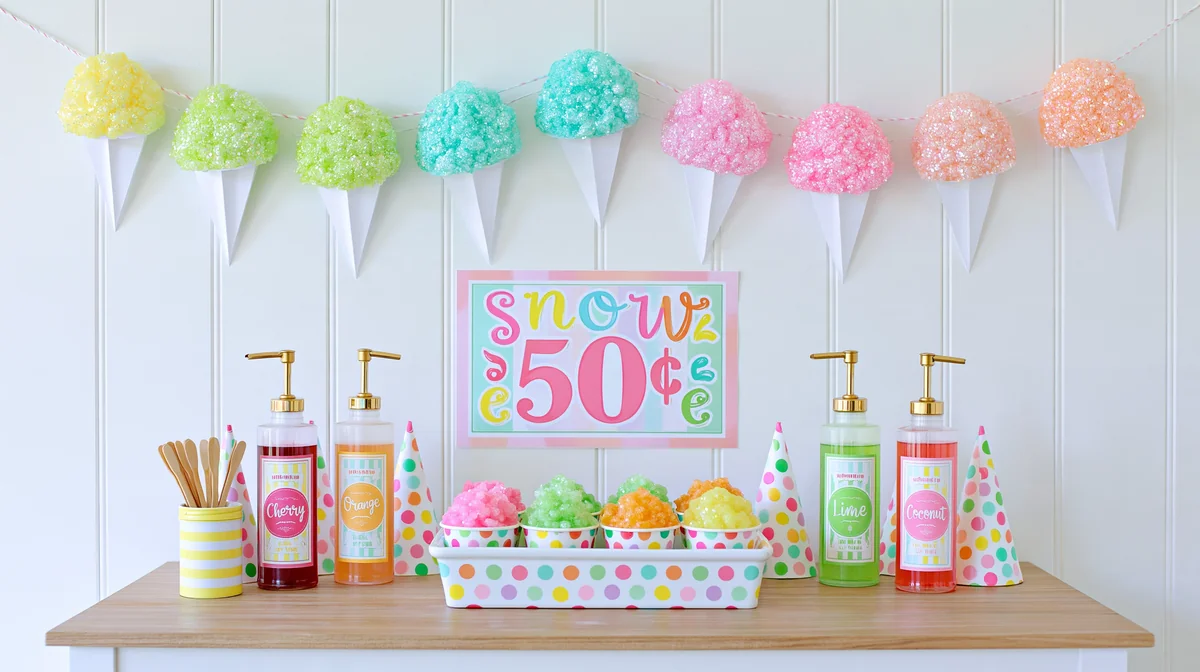
There’s something about miniature snow cones that makes summer decorations feel more fun instantly. A hanging garland filled with tiny pastel snow cones is such a playful way to dress up a party table, especially when you’re setting up a snow cone station for kids or a laid-back backyard gathering.
The little cones can be made using mini foam cones and foam balls, giving each decoration that familiar pointed paper cone shape with a rounded scoop of shaved ice on top. White cardstock works nicely for creating the paper wrappers, while acrylic paint brings in those sweet snow cone colors.
These supplies are easy to find at most craft stores or online, so you can gather everything you need for this project without any trouble.
I especially love the combination of pastel pink, sky blue, soft yellow, green, and peach. Mixing these colors across the garland creates a cheerful look without making the decorations feel too busy.
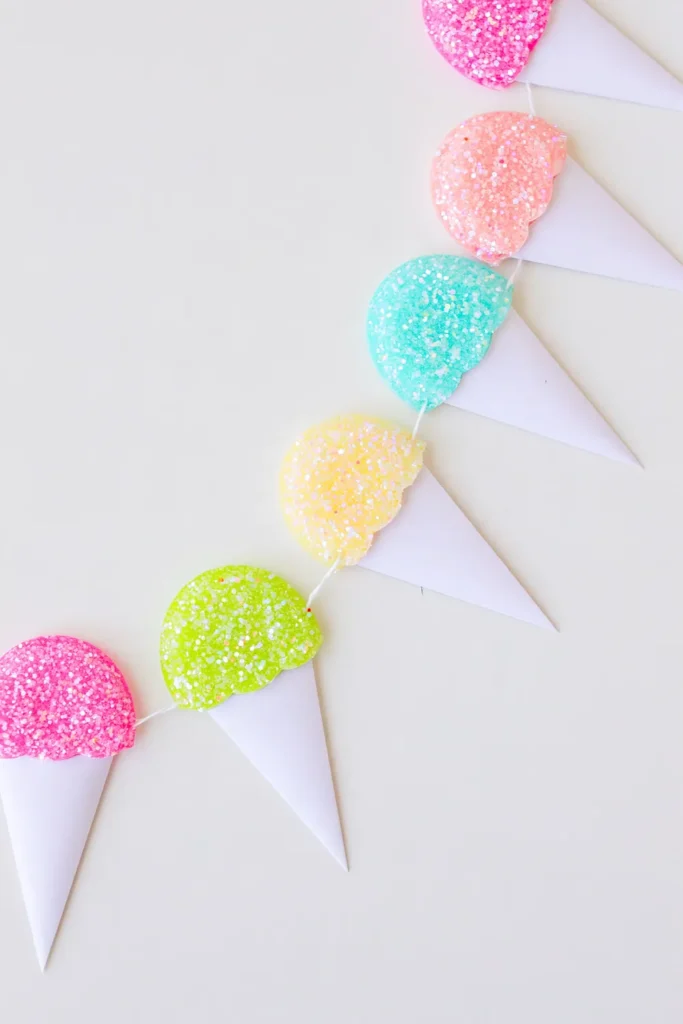
The sparkling shaved ice effect is what makes this project stand out. Chunky clear diamond dust glitter adds a frosty finish to the painted foam balls, making them resemble colorful crushed ice. Once the pieces are decorated and dry, they can be attached to baker’s twine with carefully placed hot glue, using a low-temperature glue gun suitable for foam. If crafting with children, always supervise glue gun use and opt for low-temperature models to help keep little hands safe.
Try spacing the miniature snow cones evenly so each one has room to stand out. A garland stretched across the front of a serving table makes an adorable focal point, but it can also hang along the wall behind your summer party setup.
For an extra coordinated display, pair the garland with a printable snow cone sign, colorful flavor bottle labels, and polka-dot paper cups. Small wooden spoons beside the cups tie the serving station together without making it feel overly decorated.
Keep the glittered decorations separate from the actual food and preparation surfaces.
What I like most about this idea is how easy it is to make the colors your own. You can choose a softer pastel combination for a sweet summer look or use brighter shades for a more energetic kids’ party.
And once the gathering is over, the finished garland can be packed away carefully for another summer celebration.
Fruit-Painted Terracotta Planters for Bright Summer Displays
Plain terracotta pots are one of those everyday items that can become surprisingly charming with a little paint. Turning them into colorful fruit-inspired planters gives a front porch or outdoor display a lighthearted summer feeling.
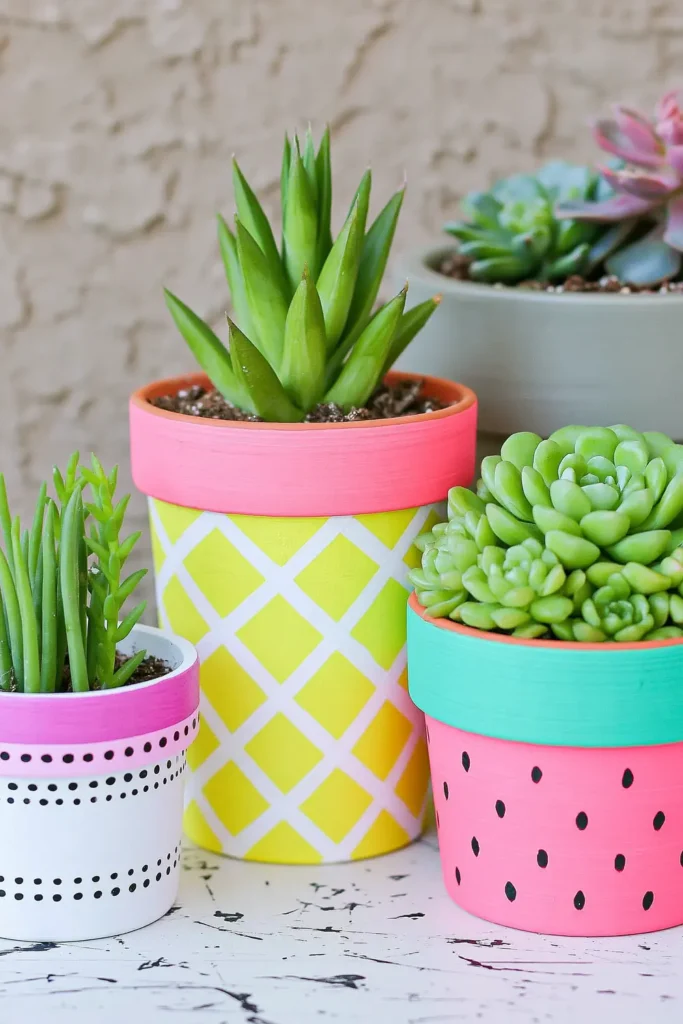
Three particularly fun designs are pineapple, dragon fruit, and watermelon planters. Each one has its own personality, but the combination works beautifully because they share the same bright, tropical inspiration.
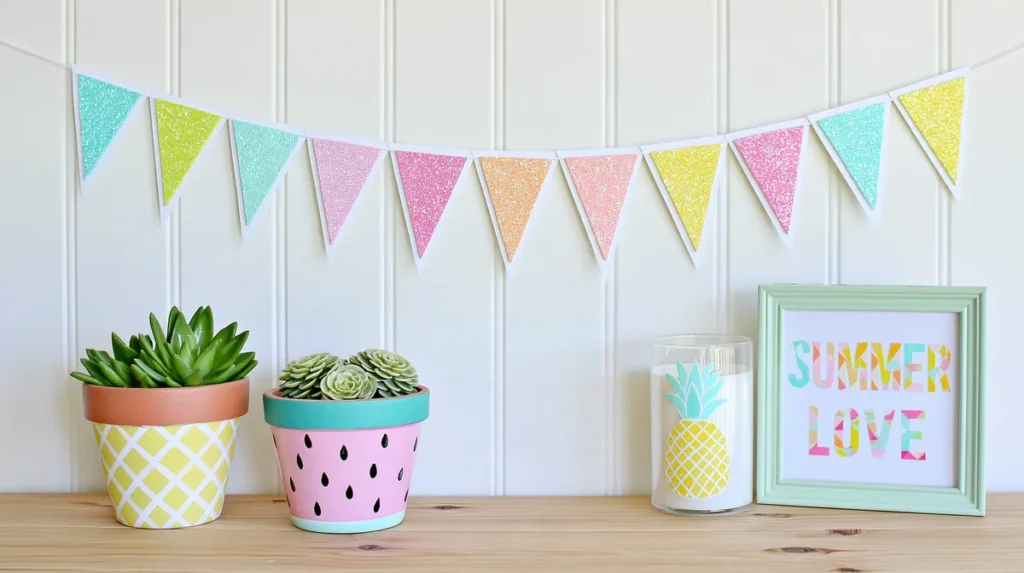
For the pineapple planter, begin with a cheerful yellow painted pot and add a white crosshatch pattern. The crossing lines create a simple pineapple-inspired texture without needing complicated artwork.
A dragon fruit planter brings a completely different color combination. A white base with bold magenta accents and scattered black dots creates that recognizable fruit-inspired appearance. It’s an especially pretty choice if you enjoy summer decor that feels colorful but still fresh and clean.
The watermelon version might be the most playful of the three. Pink and teal paint create a bright foundation, while little black seed details finish the fruity design.
Acrylic paint works well for building the main colors, and oil-based paint markers can help with smaller details such as the pineapple lines or watermelon seeds. Painting each pot usually takes about 15 to 20 minutes, with an additional 30 to 45 minutes needed for the paint to dry before you add details or a second coat.
Once everything is fully dry, apply a clear protective sealer suitable for painted outdoor pots, following the product directions. Most sealers will need another 30 minutes to an hour to dry completely, so you can expect to finish the project in an afternoon.
These planters look particularly sweet when arranged together on a front porch, where their different colors can create a small, eye-catching display.
Succulents are a natural match for this project. A jade plant, climbing aloe, or another suitable succulent can provide greenery that contrasts nicely with the painted surfaces. Just make sure the pots have proper drainage, since succulents generally don’t enjoy sitting in soggy soil.
I would keep the surrounding decorations fairly simple and let the fruit patterns be the main attraction. Even just two or three painted planters grouped together can give an ordinary porch corner a much more cheerful summer look.
Tropical Candle Decor with Pineapple and Flamingo Designs
Not every summer decorating project needs bright paint or a collection of craft supplies. Sometimes, a small decorative detail on something you already have can make a surprising difference.
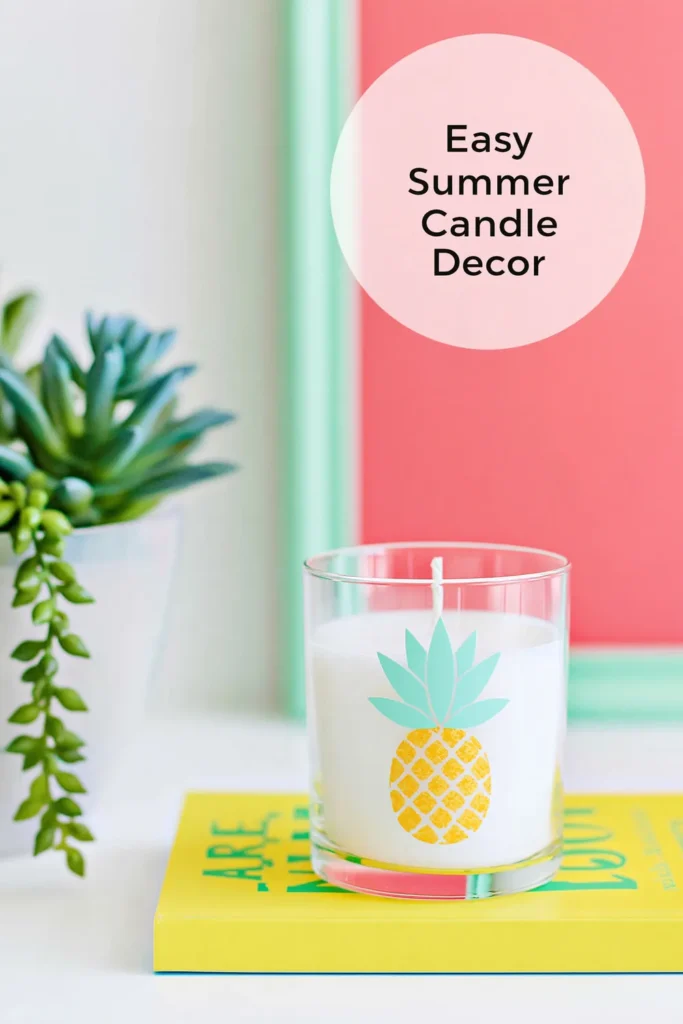
That’s what makes tropical candle decor such an appealing idea. Simple glass candle containers can be dressed up with colorful printed stickers featuring pineapples, flamingos, and other playful summer designs.
The combination of clear glass, white candles, and bright tropical illustrations creates a clean but festive look. The white candles give the decorations a simple background, allowing the colorful designs to become the focus.
Pineapple illustrations are especially charming for a tropical summer theme, while flamingo motifs introduce a fun pink accent. Mixing the two can help a tabletop display feel coordinated without every container looking identical.
For the decorative details, printable sticker paper makes it possible to create matching designs in different sizes. You can arrange the illustrations on the exterior of glass containers, keeping the finished appearance neat and uncluttered.
If you want to display illuminated candles, remember that ordinary printed stickers and adhesives may not be heat-resistant. Battery-operated candles inside suitable glass holders are a safer choice for this type of decorated display. Keep paper and stickers away from open flames.
I particularly like this idea for a summer tabletop arrangement because it doesn’t require much space. A few decorated glass containers grouped in the center of a table can create a tropical atmosphere without crowding the surface.
They can also work as decorative accents on an indoor shelf or party serving table.
The nice thing about tropical candle decor is that it brings in a seasonal theme without requiring a permanent change. It’s a small project, but those pineapple and flamingo details are enough to give a familiar space a little summer personality.
Framed Summer Washi Tape Art with Colorful Patterns
If you have an empty picture frame sitting around, this next project is a lovely way to turn it into something fresh for summer.
Washi tape art is simple in concept, but the layered colors and patterns can make the finished piece look surprisingly decorative. It’s also a nice option when you want handmade seasonal wall art without painting directly on your walls.
The main design begins with patterned washi tape arranged across a piece of white poster board. Alternating tape colors and designs create an interesting background, especially when you combine stripes with crisscross patterns.
I love how the different tape patterns give the artwork texture and visual movement while keeping the project light and playful.
The words “Summer Love” can become the centerpiece of the artwork. Layered paper cutout letters in white stand out beautifully against the colorful patterned background, creating a design that’s easy to read and full of summer charm.
A sweet mint-painted frame adds another lovely detail. The soft green tone complements the bright washi tape while giving the finished piece a more coordinated appearance.
Before fixing the lettering in place, it’s worth experimenting with the layout. Try different tape directions and make sure the words remain visible against the busier patterns.
You don’t need every strip to match perfectly. A mix of simple patterns is part of what gives handmade washi tape art its character.
Once framed, the artwork can brighten a small section of wall, sit on a shelf, or become part of a summer tabletop display.
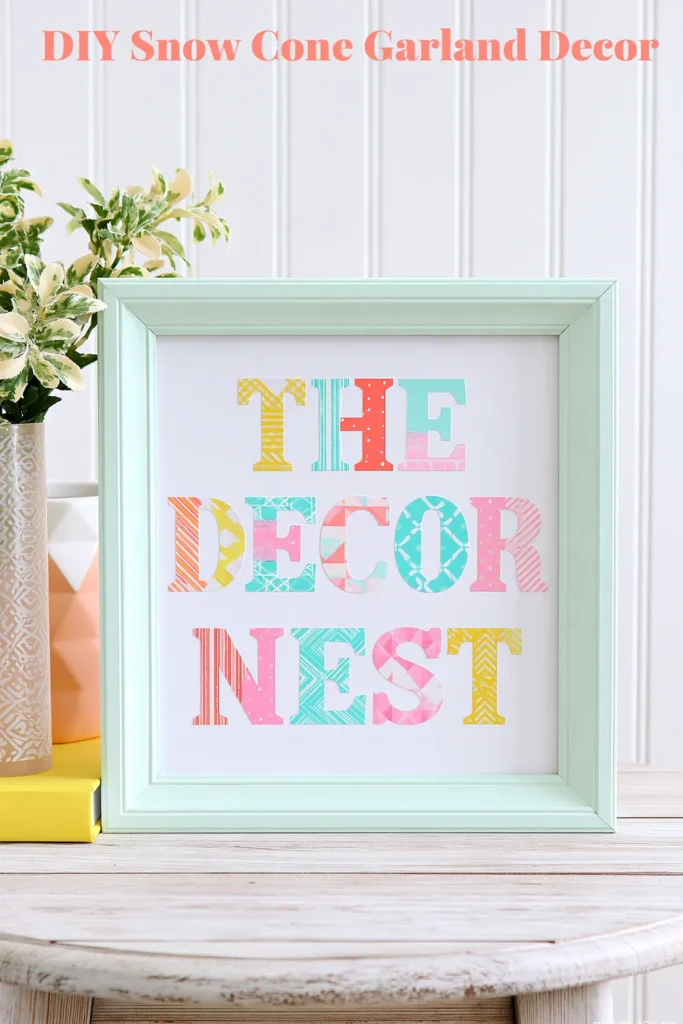
What makes this project especially practical is that it can be customized using whatever tape patterns you enjoy. Pastels can create a softer look, while stronger contrasting colors bring a more energetic summer feeling. For a truly personalized result, you might also experiment with other color palettes and themes. For example, a sunset-inspired combination of coral, golden yellow, and pale lavender gives a warm, modern effect.
Cool ocean tones like turquoise, teal, and soft sand pair beautifully for a coastal vibe, while a monochrome scheme using various shades of blue or green can produce a more subtle, coordinated accent. If you prefer something whimsical, try mixing tapes with tiny florals or tropical motifs alongside vivid stripes and dots. With so many pattern and color choices available, you can easily adapt this project to suit your style or the decor in any room.
And because the design sits inside a frame, you can easily switch it out when the seasons change.
A Little Handmade Color Goes a Long Way
One thing I love about summer decorating is that it permits us to have a little fun with color.
A sparkling snow cone garland, fruit-painted planters, tropical candle decorations, and a cheerful framed print can each bring a different kind of summer feeling into your home.
You don’t need to make all four projects at once. If you’re new to DIY crafts, the tropical candle decor and the framed washi tape art are especially beginner-friendly and require only basic supplies. These are great starting points if you want quick, straightforward results. Start with any idea that suits your space and the materials you already have.
If you’re planning a summer gathering, the DIY Snow Cone Garland Decor makes a particularly fun place to begin. For something you can enjoy every day, painted planters or colorful wall art might be a better fit.
The goal is simply to create a home that feels bright, welcoming, and a little more playful during the warmer months. Sometimes, the smallest handmade touches end up being the ones you enjoy most.