

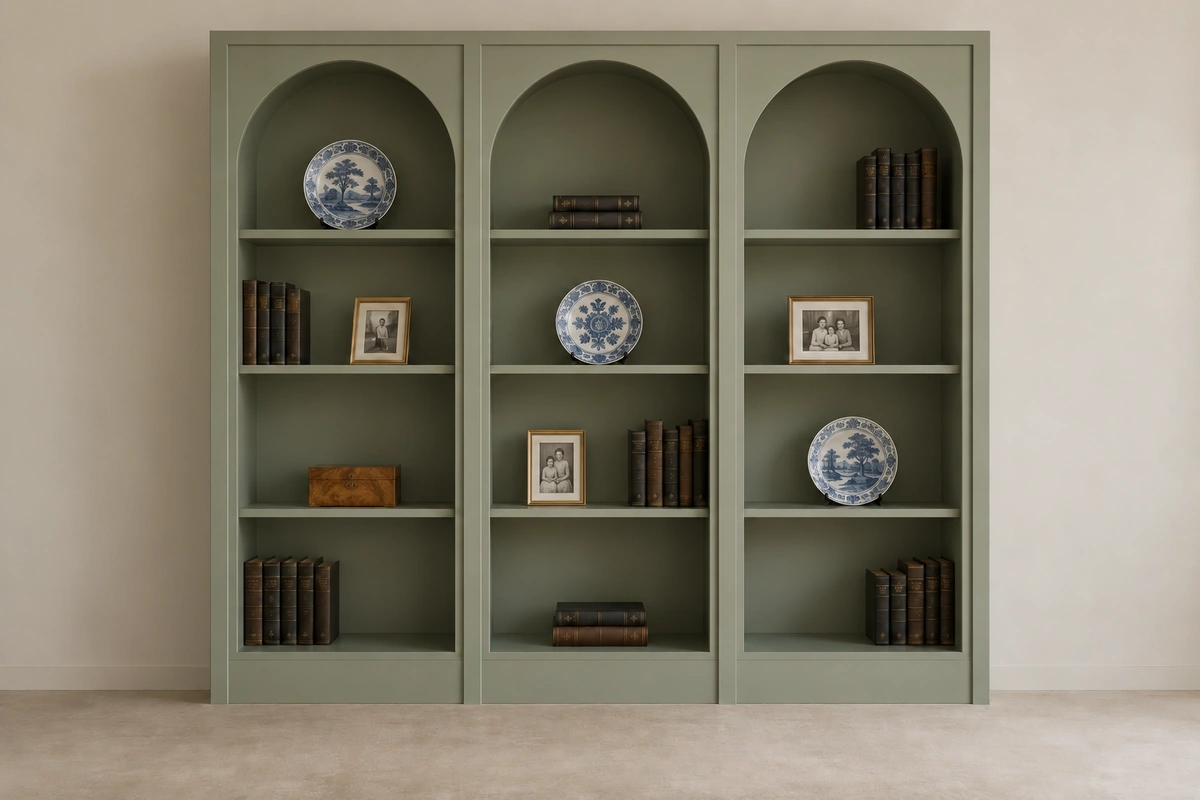
An arched built-in bookcase looks simple from a distance, but the finished result depends on getting the proportions and build order right before the first sheet is cut. In this project, the three matching arches, shelf spacing, painted finish, and display plan were coordinated together so the structure feels intentional rather than crowded.
This arched built-in bookcase is based on a 96-inch-wide, 96-inch-high, 15-inch-deep working layout. The guide below walks through how to measure your own wall, prepare the materials, build the repeated bays, form the arches, finish the millwork, and check everything before permanent installation.
The drawing set and 3D model are useful throughout the process. They help you mark the layout, keep repeated parts consistent, and test shelf clearances—but your actual wall, floor, trim, and electrical conditions still need to be checked before irreversible work.
The Finished Look Starts With a Repeated Three-Arch Layout
The main idea is a full-height painted display bookcase with three equal arched openings. Each opening is 28 inches clear, separated and framed by four 3-inch stiles. That gives the façade its 96-inch overall width without leaving an unexplained filler strip at either side.
The arches are true semicircles, not shallow curves added only for decoration. Each has a 14-inch radius, which matches the 28-inch opening below it. The springline sits at 70.5 inches above the finished floor, and each arch reaches its crown at 84.5 inches. Those relationships matter because changing one of them changes the whole front elevation.
The shelves create the other half of the rhythm. Four 3/4-inch shelves in each bay sit at 20, 34, 48, and 62 inches above the finished floor. This produces practical display zones while leaving the arched upper area open and visually calm.
The intended finish is a muted sage satin paint, with dark leather-bound books, family-photo frames, blue-and-cream porcelain plates, and a small burlwood jewelry box used sparingly. The architecture should remain visible; the styling should support it rather than cover it.
Measure the Actual Wall Before Ordering or Cutting Anything
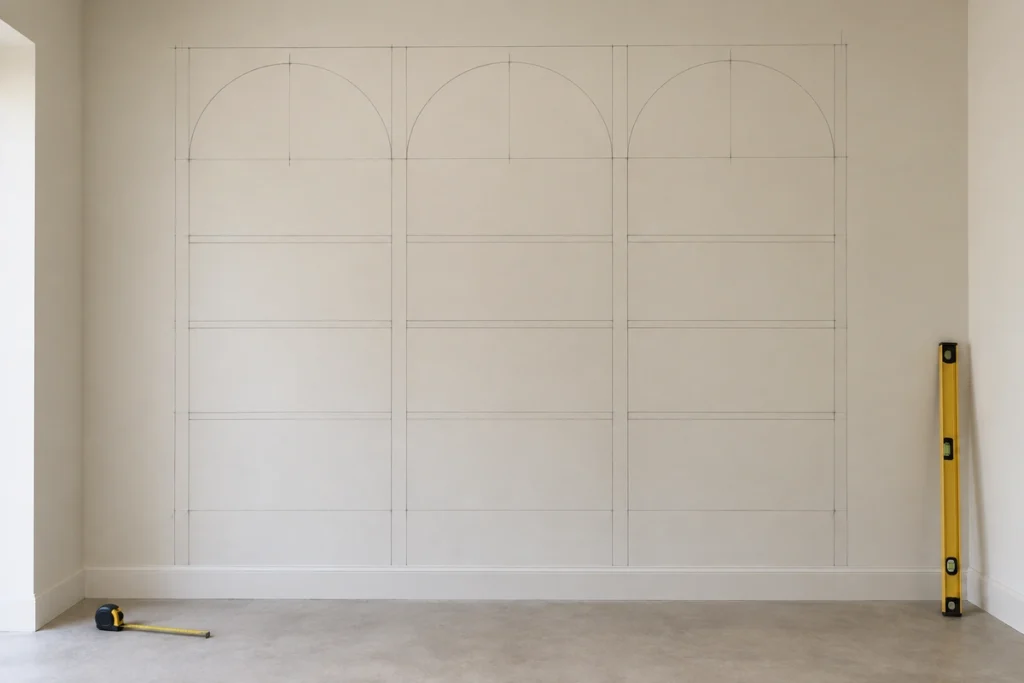
Start with the wall, not the plywood. The 96-inch-wide by 96-inch-high by 15-inch-deep layout is the approved working design, but it must be compared with the actual available space before you buy materials or cut repeated components.
Measure the usable wall width at several heights, then check the height from the finished floor to the ceiling or to the nearest fixed condition above the bookcase. Measure depth projection as well. A shallow room, nearby door swing, radiator, return vent, baseboard, crown molding, or adjacent trim can affect the final arrangement even when the front elevation fits.
Mark the overall width on the wall, then mark the three 28-inch openings and four 3-inch stiles. This is the fastest way to see whether the rhythm works in the real location. Use the drawing dimensions to lay out those marks; do not measure from a printout.
Before fabrication, also check floor level, wall plumb, wall flatness, and the condition behind the finished surface. These checks influence final fitting and permanent fixing. They are not reasons to abandon the design—they are simply the information that turns a coordinated prototype into a responsible site-specific build.
Loading interactive drawing…
Use the Drawing and 3D Model to Understand the Build Before Making Parts
The drawing set gives you the measurements needed to mark and check the structure. Use the front elevation to confirm the overall envelope, bay widths, stile widths, shelf elevations, and arch dimensions. Use the depth view to understand how the 15-inch overall projection includes a 13.25-inch usable display depth.
The 3D model helps with a different question: what is sitting in front of, behind, or between the visible parts? It makes the relationship between the carcass, shelves, backing, face stiles, and arch trim easier to see before you start assembling anything.
For the arches, use the drawing to mark the springline at 70.5 inches above the finished floor and the crown at 84.5 inches. The 14-inch radius is not a decorative estimate; it is the dimension that makes each 28-inch opening a true semicircle.
The shelf elevations are also worth marking on a full-size story stick or on the side panels before cutting repeated parts. This is useful because a small mistake repeated across three bays becomes obvious once the face trim is installed.
Treat the drawing and model as practical checking tools. They help you make consistent parts and spot conflicts early, but they do not replace measuring the actual wall before final cuts or installation.
Choose Sheet Goods and Finish Materials by Their Job in the Assembly
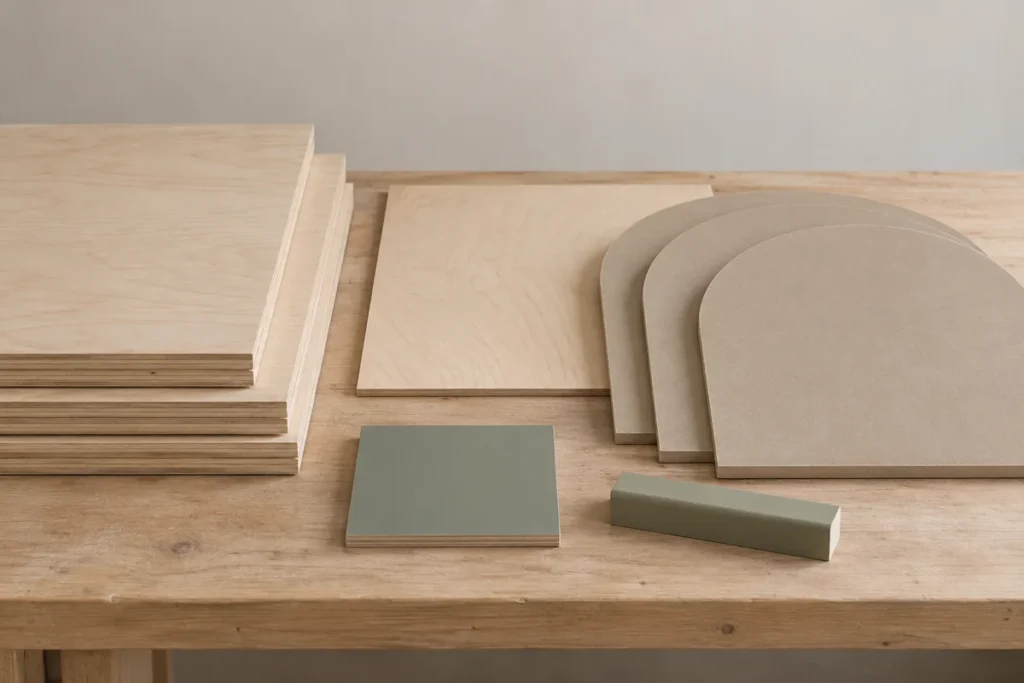
This project uses different materials because each part has a different job. The carcass and shelves are planned in 3/4-inch cabinet-grade hardwood plywood. It provides the main structure, shelf thickness, and stable surfaces for the painted finish.
The backing is 1/4-inch plywood. It should be planned from the start rather than added as an afterthought, because it completes the rear surface and helps maintain the intended depth of the assembly.
The visible arch faces and trim are planned in 3/4-inch paint-grade MDF. MDF is useful here because the curved arch profile and painted face treatment need a smooth, consistent surface. The shelf fronts also need a painted stiffening or edge-treatment detail, approximately 1 to 1.5 inches deep. Choose its final profile before fabrication so it works with the shelf depth and face treatment.
For color, use a muted sage satin finish consistent with the approved October Mist direction. Make a sample board first using the actual plywood, MDF, primer system, and paint. This lets you check how the color reads on the two materials and whether the sheen suits the room before you commit to every visible part.
Break the Design Into Carcass, Shelf, Backing, and Face-Trim Groups
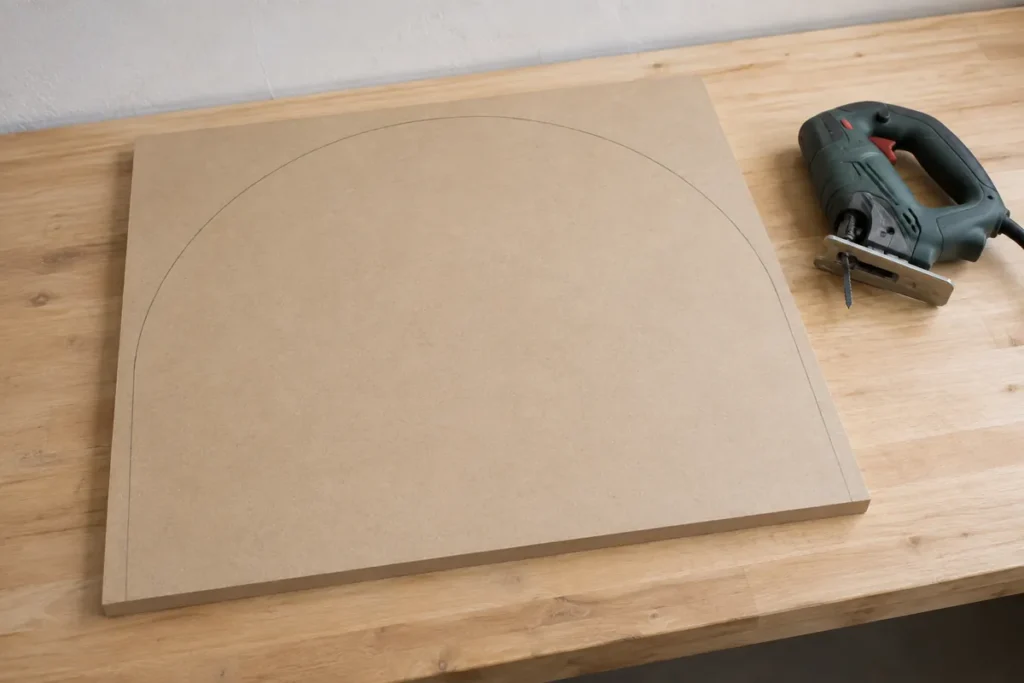
Do not begin by treating the bookcase as one oversized object. Break it into manageable groups: the structural carcass members, the shelves, the 1/4-inch backing, the visible face stiles, the three arch pieces, and the shelf-front edge treatment.
This makes cutting and checking much easier. Start by listing the repeated parts from the drawing, then mark every part with its bay and position before cutting. The three openings are intentionally equal, so a verified first layout can guide the remaining bays. Keep left, center, and right parts organized separately until their dimensions have been checked.
Use the drawing to transfer dimensions, and use the 3D model to understand which parts remain visible after assembly. That is especially helpful with the backing and face trim: both affect the final appearance, but they belong at different stages of the build.
The face stiles and arches should stay separate from the main carcass while you confirm the openings are square, level, and consistent. This gives you room to correct a structural alignment issue before adding the most visible painted parts.
Do not finalize a cut list from the prototype dimensions alone. Confirm your actual wall conditions first, then prepare the fabrication dimensions that match the space and your selected assembly method.
Assemble the Three Bays and Keep Every Shelf in the Same Plane
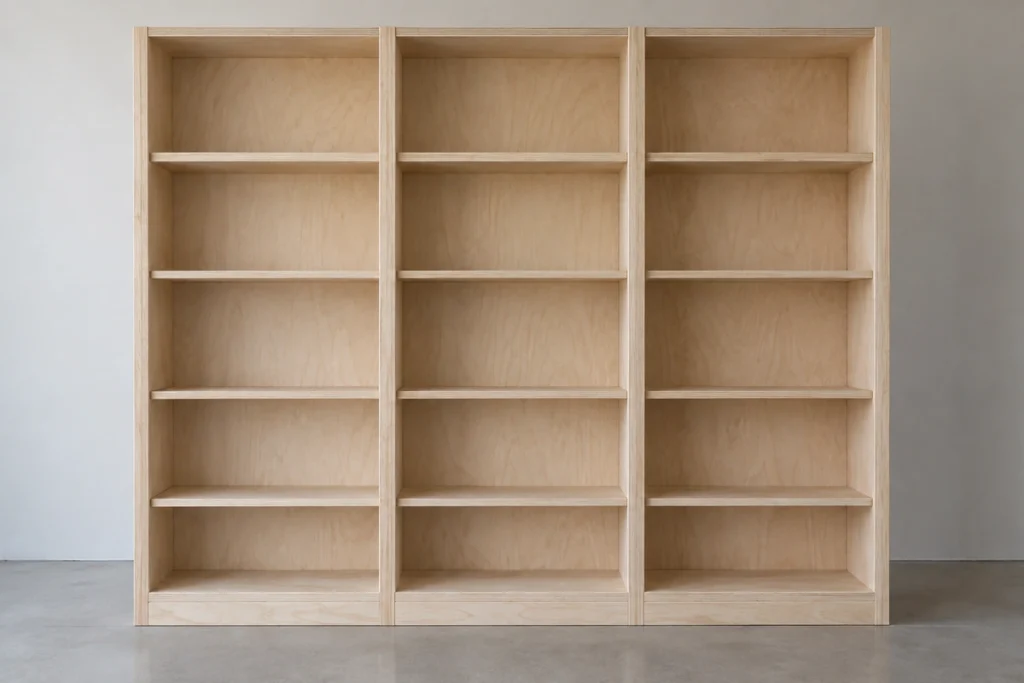
With the structural parts prepared, assemble the three bays carefully and check each stage before moving forward. The goal is to preserve three 28-inch clear openings, not simply to make the overall width land close to 96 inches.
Start by assembling and checking one bay. Confirm its opening width, depth, and square corners, then use it as the reference for the other two. This is much safer than building all three at once and discovering that a small error has been repeated across the full bookcase.
Set the four 3/4-inch shelves at 20, 34, 48, and 62 inches above the finished floor. These elevations create the planned display zones, with approximately 13.25 inches of clear height between shelf surfaces. Mark the shelf positions from one consistent reference edge so all shelves land in the same plane across the bookcase.
Fit the backing as part of the assembly process, not after the visible work is complete. The 1/4-inch panel closes the rear of the unit and helps confirm the intended 15-inch overall depth. Before adding the face treatment, dry-fit the assembled structure and recheck bay widths, shelf elevations, and the front alignment of every vertical member.
Form the Arch Faces Only After the Openings Are Square and Matched
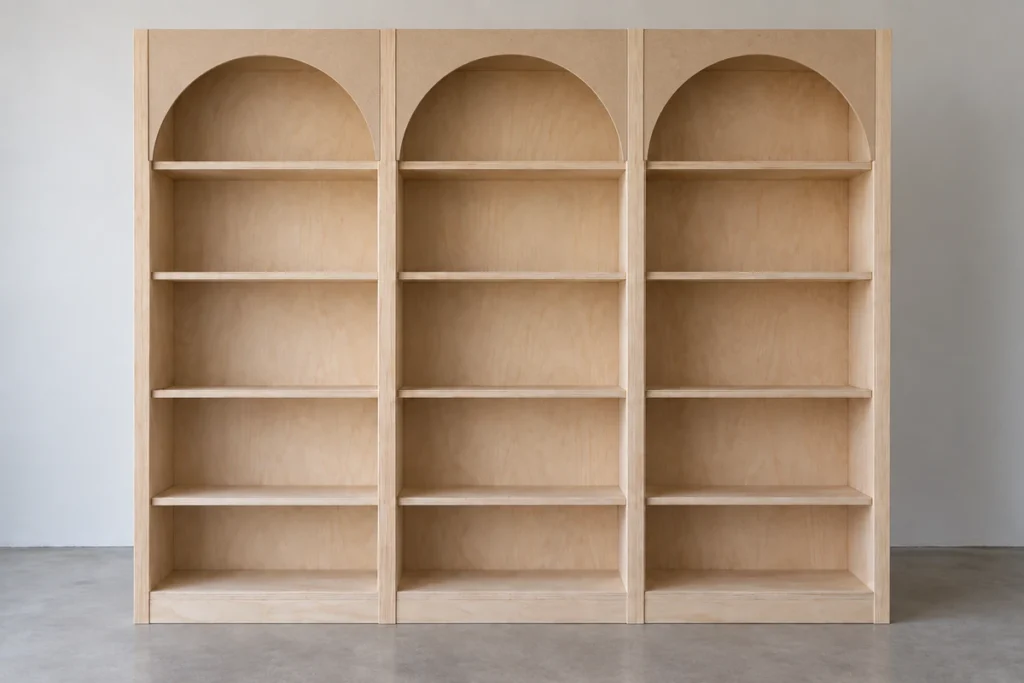
The arches are the part readers will notice first, so build them only after the rectangular structure is correct. Each arch is a true semicircle with a 14-inch radius over a 28-inch opening. If the opening width changes, the arch must be reconsidered rather than forced into place.
Use the drawing to mark the springline at 70.5 inches above the finished floor. From there, the curve rises to the 84.5-inch crown. Transfer that geometry accurately to the 3/4-inch MDF arch-face material, then compare the first finished profile with the drawing before repeating it for the remaining bays.
Dry-fit each arch and face stile before applying finish. Check that the three curves begin at the same height, reach the same crown height, and align cleanly with the vertical faces below. Small differences are easy to miss while parts are loose on a bench, but they become obvious once the full façade is painted.
This is also the point to confirm the shelf-front edge treatment. Its final profile is a fabrication choice, but it should support the same clean painted façade without stealing depth from the 13.25-inch usable shelf area.
Dry-Fit Display Clearances and the Reserved Picture-Light Zone
Before painting or permanently placing the bookcase, test the spaces that have to stay clear. The upper middle field is reserved for the picture-light concept: the middle arch reaches 84.5 inches, while the bookcase top is at 96 inches, leaving an 11.5-inch field above the crown.
The selected picture light has a manufacturer-supported 24-inch width and 5.75-inch height. Centered over the 28-inch middle bay, that leaves a nominal 2 inches at each side. Its backplate is smaller, at 15 inches wide by 2.25 inches high. Use those dimensions to check the visual fit of the fixture envelope before finishing the trim.
Then test the shelf groups. The approved display plan includes books, three family-photo frames, a small burlwood jewelry box, and upright porcelain plates. Place safe-size stand-ins or the actual objects in the dry assembly to confirm that nothing crowds the shelf height or depth.
This is a layout check, not an electrical installation step. Confirm the real junction-box location, mounting surface, and electrical feed before treating the picture light as a permanent installed fixture.
Finish the Millwork Before Final Placement
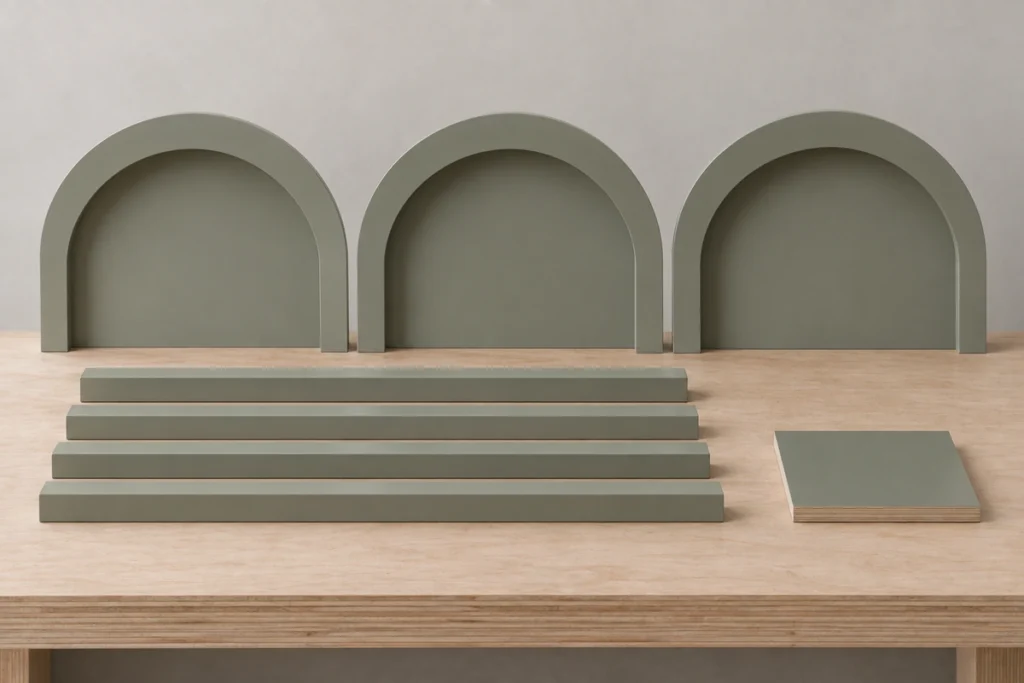
Finishing goes more smoothly when you do as much work as possible before the bookcase reaches the wall. Sand the visible plywood and MDF surfaces, prepare the shelf fronts and arch edges, and make sure the face trim fits cleanly before committing to paint.
The muted sage satin finish is meant to unify the carcass, shelves, stiles, and arches. That only works if you prepare the different materials properly. Plywood and MDF can absorb and reflect paint differently, so make a sample board using both materials, the intended primer system, and the final color. Check it in the light where the bookcase will live before finishing every component.
Paint the parts in an order that protects the visible faces. Keep shelves and arch pieces supported so their edges do not pick up damage while drying. If you are adding a shelf-front nosing or stiffening strip, fit and prepare it before the final coats so it reads as part of the same painted structure.
Leave minor touch-up work until after moving and final fitting. This avoids redoing finish work because of handling marks or small adjustments at the wall.
Coordinate Final Placement With the Real Wall Conditions
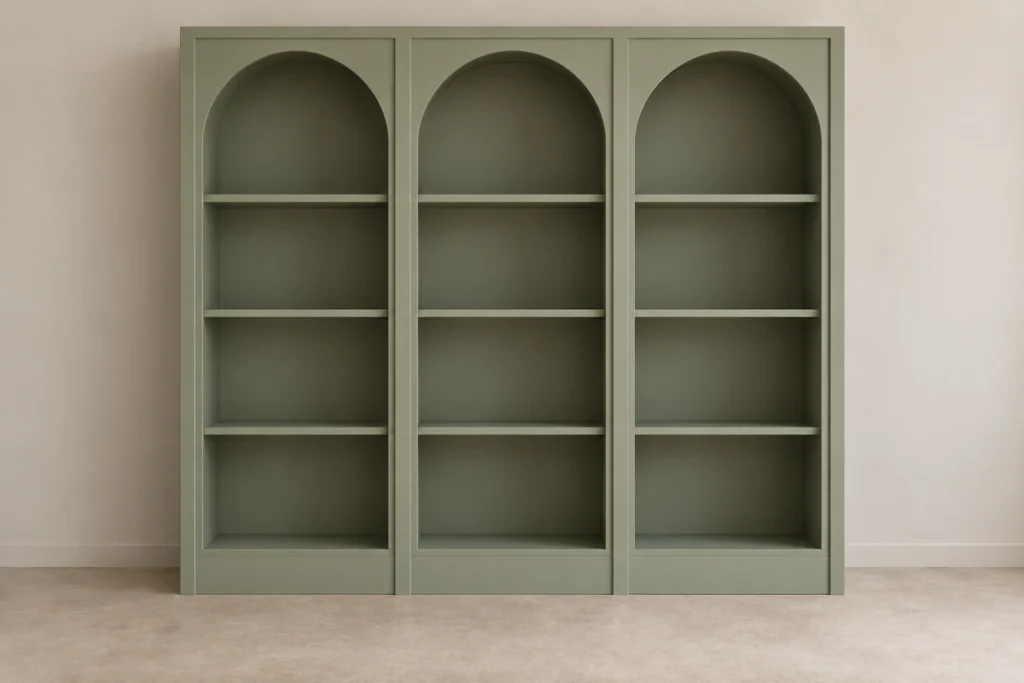
A finished bookcase still needs a careful site review before it becomes a built-in. Bring the drawing and the model back into the process at this stage. Use them to compare the planned 96-inch envelope, bay spacing, depth, and arch heights with the actual wall and nearby trim.
Check the floor again for level and the wall for plumb and flatness. Confirm how the unit meets baseboards, crown, side returns, and any adjacent built-in elements. Also make sure the completed components can be moved into position without forcing them through a tight route or damaging finished edges.
Before permanent fixing, verify the wall substrate and the locations that can safely receive the required anchoring. The approved design does not define an anchoring method because that decision depends on the actual wall construction and installation conditions.
The picture light needs the same approach. Its location is coordinated visually above the center arch, but the junction box, electrical feed, mounting surface, and installation method must be confirmed on site. A qualified electrician should handle electrical work where required.
The useful rule here is simple: fit the finished assembly to the real wall, then make final field decisions. Do not force the wall to match an unverified assumption.
Style the Shelves So the Arches Remain the Main Feature
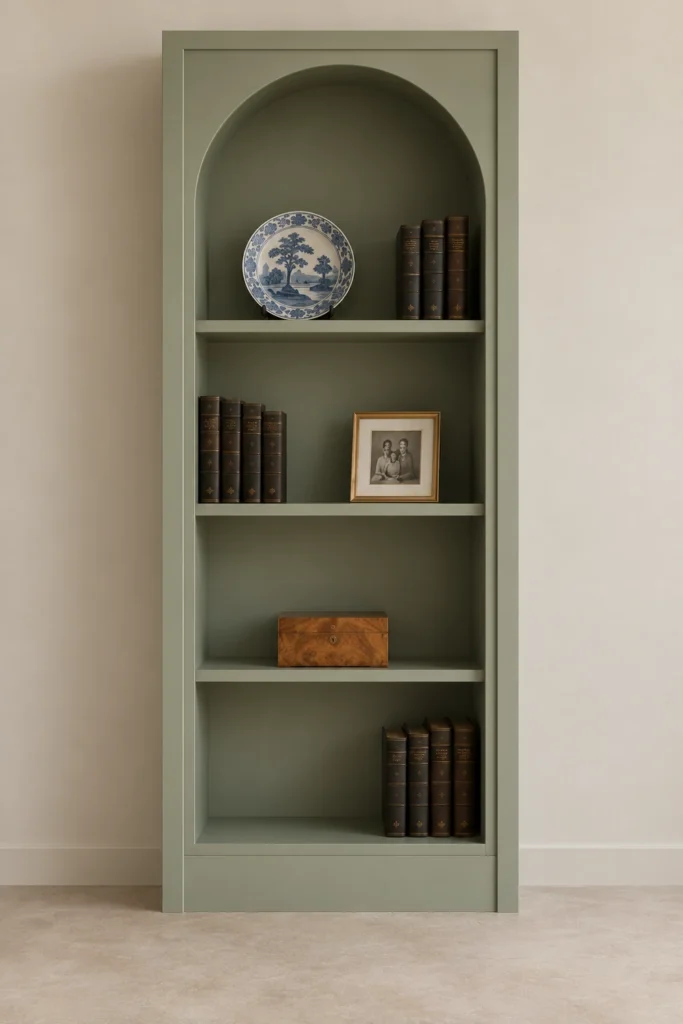
Once the bookcase is finished and placed, style it with enough restraint that the three arches remain visible. The display plan is built around dark leather-bound books, three distinct family-photo frames, a small burlwood jewelry box, and two to three blue-and-cream or blue-and-white porcelain plates.
Start with the largest items. Place the books and larger frame first, then use the smaller frames and jewelry box to create variation without filling every shelf. The shelves have been coordinated for display, but open space still matters. A shelf that is too full makes the painted architecture disappear.
Use the porcelain plates upright with concealed or low-visibility support. Place them where their diameter and height stay within the shelf clearances. The 3D model is helpful here because it shows the intended shelf zones and lets you test the scale of each display group before you settle on the final arrangement.
I like to keep one or two shelves quieter than the others. That gives the eye a place to rest and makes the family photos and porcelain feel more personal when they do appear. For more ways to balance books, objects, and framed memories, see these living room bookshelf styling ideas.
Review the Completed Work Before Calling the Project Finished
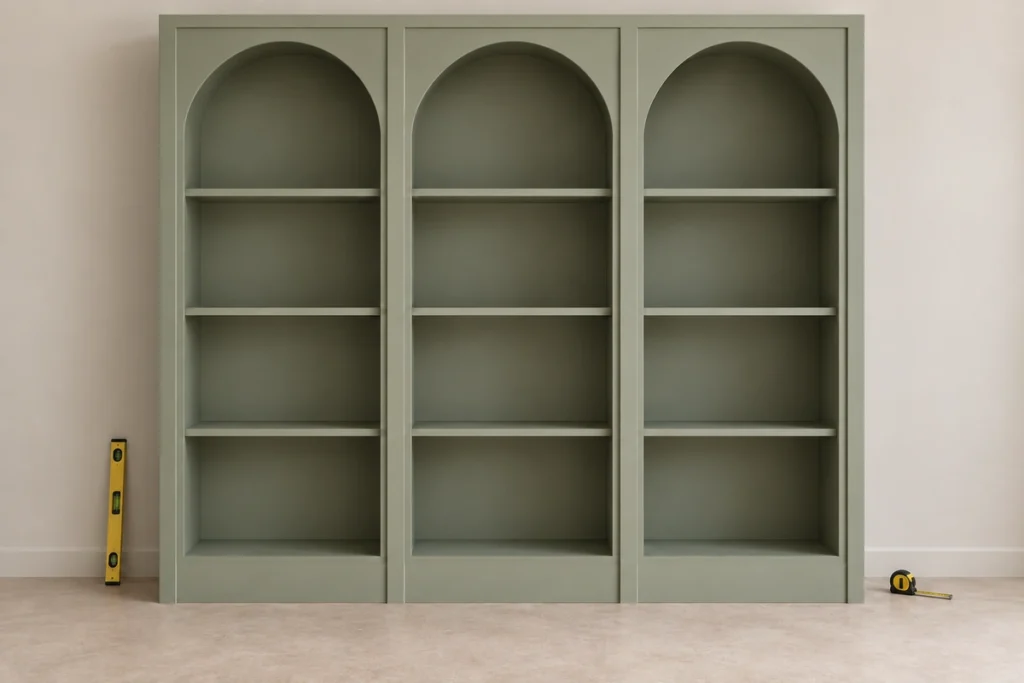
Before you consider the work complete, make one final comparison between the finished assembly and the approved layout. Check the overall width, height, and depth first. Then move inward: confirm the three clear openings, the face-stile rhythm, the shelf elevations, and the three matching arch profiles.
Look closely at the visible details. The backing should sit cleanly behind the shelves, the face trim should align across the bays, and the painted finish should read consistently across plywood, MDF, and shelf-front treatment. Check that the shelves still have usable display depth and that the objects do not crowd the arches.
Review the upper center field as well. The reserved picture-light zone should remain clear even if the electrical work is scheduled later. If any measured site condition changed the fit of the unit, resolve that before permanent fixing rather than hiding the problem with trim.
This final review is where the drawing set and model earn their place. They give you a coordinated reference for the things that are easy to overlook after a long build: repeated dimensions, hidden backing, shelf alignment, and clearance around the most visible features.
Build in the Right Order, Then Let the Details Settle In
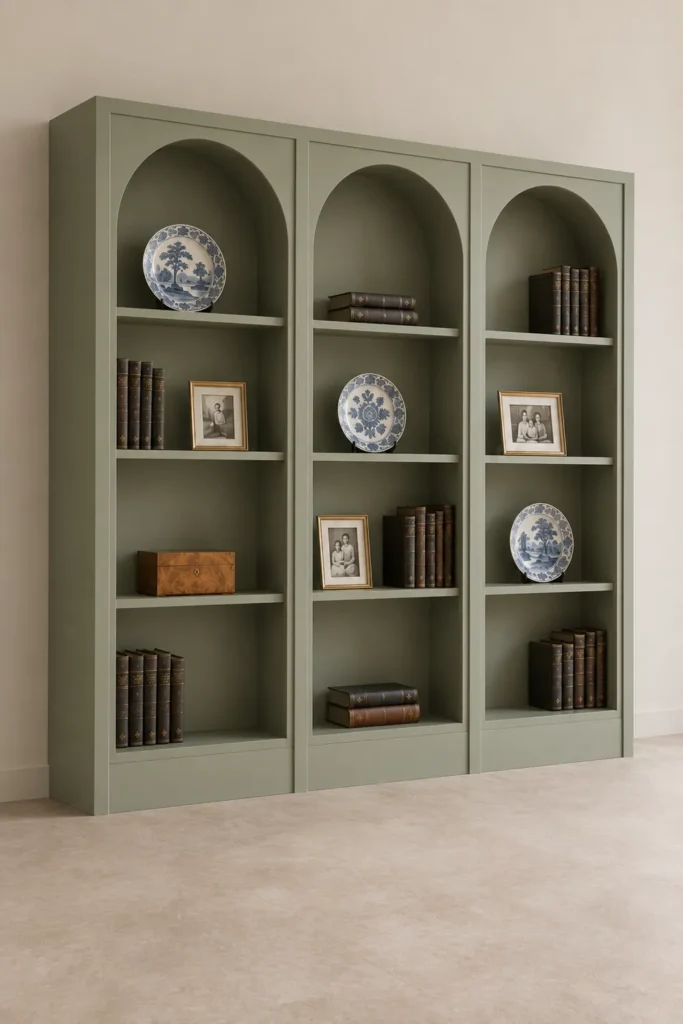
The strength of this project is not only the sage paint or the arched front. It is the sequence: measure the actual space, use the drawing to mark the layout, make the structural parts, dry-fit the arches and displays, finish the visible surfaces, and confirm real wall conditions before permanent installation.
That sequence protects both the appearance and the work behind it. A homeowner or maker can adapt the width, height, or display choices to a different space, but the important habits remain the same: keep repeated geometry consistent, check clearances before paint, and handle field-dependent fixing and electrical work with the right level of care.
When the wall, substrate, anchoring, and electrical conditions need specialist input, bring that person in before the irreversible stage. The result is a bookcase that feels deliberate because the practical decisions were made in the right order.