
There’s something special about bringing a little winter magic indoors, especially when it comes from decorations you’ve made yourself. Paper snowflakes have always been one of my favorite ways to create that feeling. They’re simple, inexpensive, and surprisingly beautiful when you hang them in the right places.
What I love most about DIY snowflake winter decorations is how easily they can change an ordinary space. A few sheets of white cardstock, some clear thread, and a little patience may make a hallway feel like a light snowfall or turn a plain doorway into a charming winter feature.
Whether you would prefer a room filled with hanging snowflakes or just a few delicate accents, these ideas can help you make a cozy winter atmosphere without spending much money.
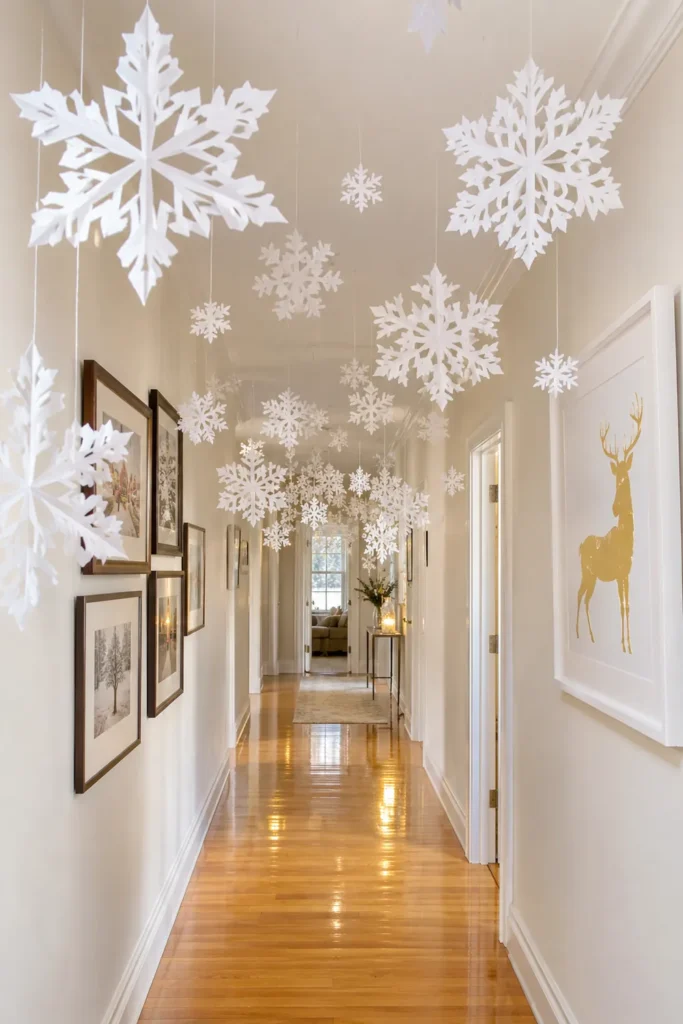
Indoor Snowflake Flurry for a Magical Winter Hallway
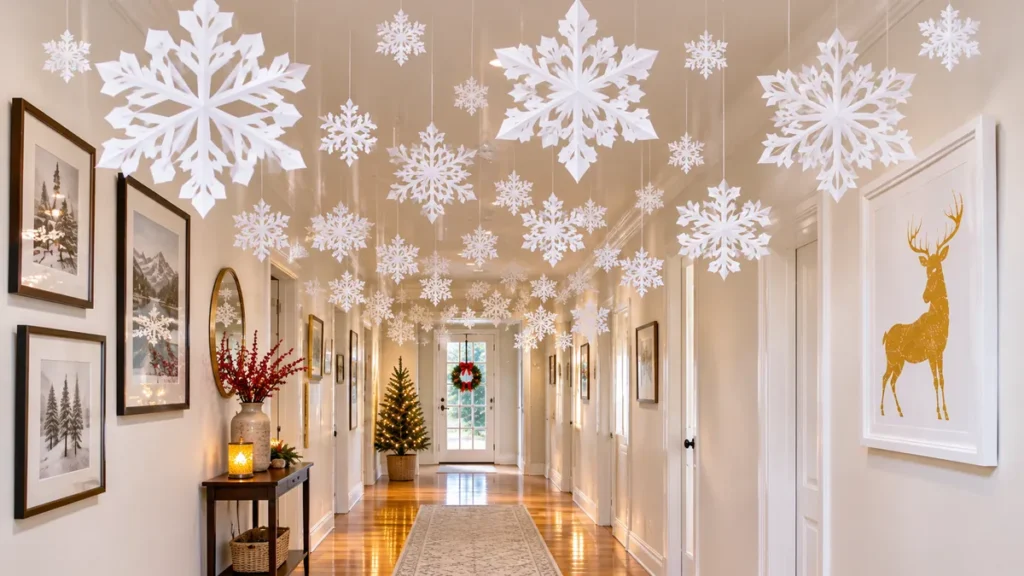
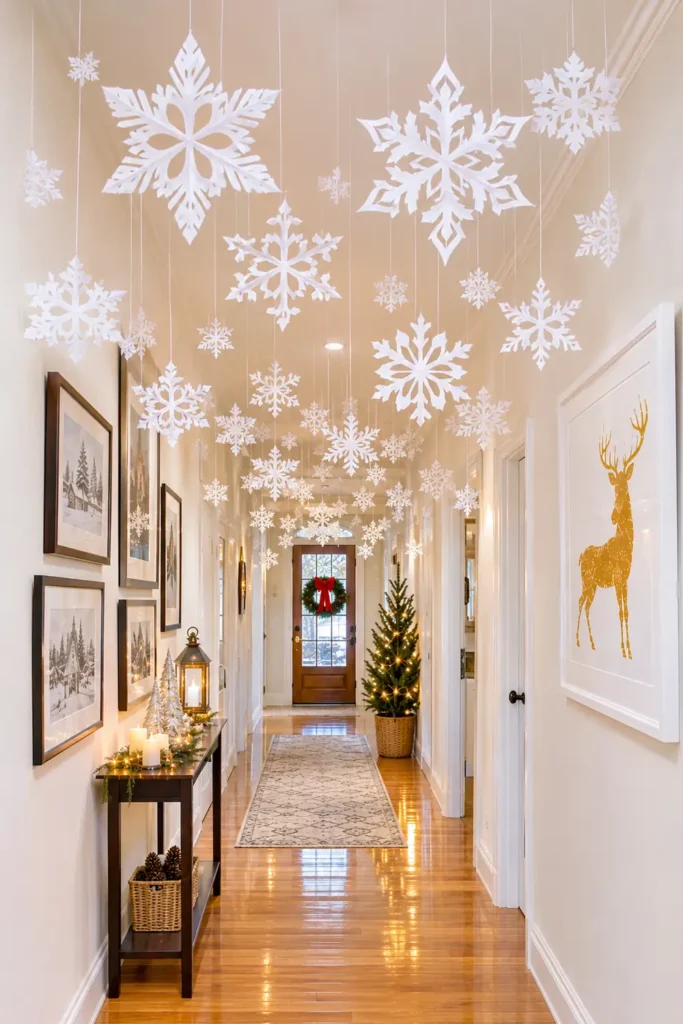
A hallway might not be the first place you think about decorating for winter, but it can become one of the prettiest spots in your home. Hanging paper snowflakes from the ceiling creates the feeling of walking through a soft, indoor snowfall.
I especially like this idea because it takes advantage of vertical space. You don’t need furniture, shelves, or a large decorating budget. The snowflakes themselves become the main feature.
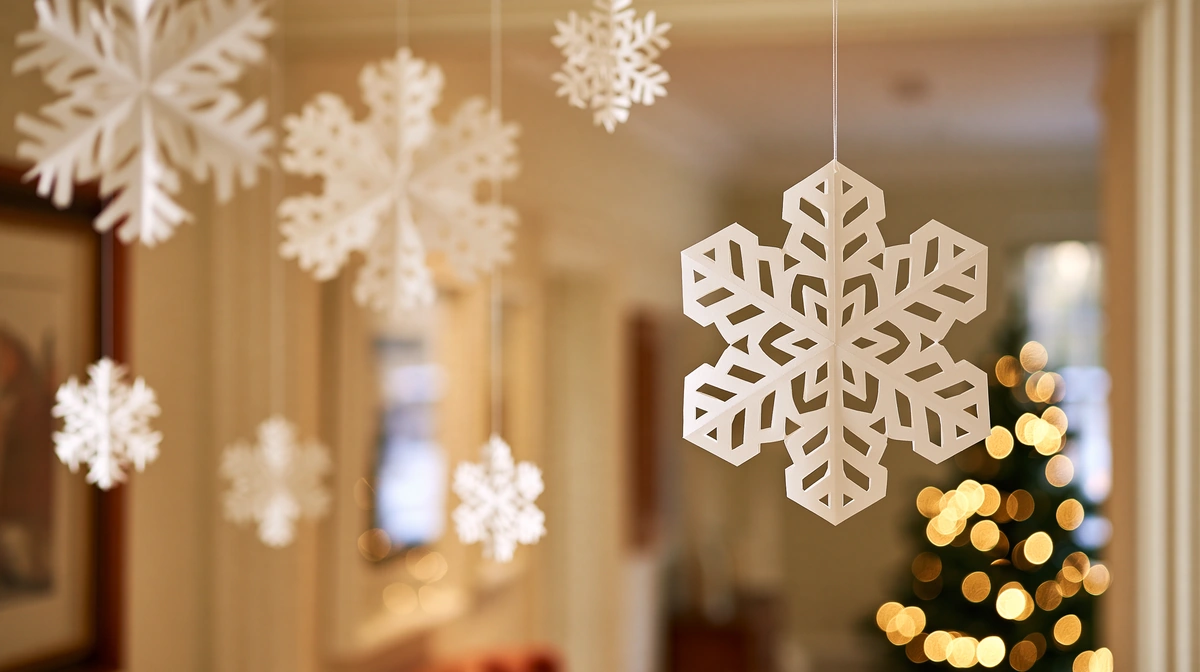
Start by cutting different snowflake patterns from white cardstock. If you are new to making paper snowflakes, you can find printable templates and pattern ideas online, or try sketching your own designs for a more personal touch. Mixing small, delicate designs with larger, more detailed ones makes the display feel more natural. You can also experiment with colored paper if you want something a little different from the traditional white winter look.
Attach the snowflakes to clear thread, leaving different amounts of space between them. Some strands can hold several snowflakes, while others might feature just a few. This variation helps prevent the arrangement from looking too uniform.
Hang the strands from the hallway ceiling using wall-friendly tape. If possible, choose tape that blends with the ceiling or wall color so the attachment points aren’t distracting.
The trick is to vary the hanging lengths. Let some snowflakes float higher while others hang a little lower, creating layers that resemble falling snow.
For a fuller display, you can make a large collection of paper snowflakes with different patterns. Just remember to leave enough clearance for everyone to walk through comfortably.
The finished hallway feels playful and festive without requiring anything expensive or complicated.
Hanging Paper Snowflake Garlands Over the Fireplace Mantel
A fireplace mantel naturally draws attention in a living room, which makes it a lovely place to display handmade snowflake decorations.
Instead of relying on heavy seasonal arrangements, you can create something light and delicate using white cardstock snowflakes suspended from clear thread or twine.
I love how this approach gives the mantel a wintry appearance without covering every inch of its surface.
Cut snowflakes in different shapes and sizes, then attach them along lengths of thread to create hanging garlands. You can drape a few strands across the wall above the mantel or arrange them so the snowflakes hang at slightly different heights.
White cardstock works particularly well here because the crisp snowflake patterns stand out against many wall colors. The cutout details also add visual texture without introducing too many competing decorations.
If you prefer a softer, more rustic appearance, twine can replace clear thread. It makes the hanging lines more noticeable, but that can be part of the charm.
For a cleaner, floating effect, clear thread is the better choice.
Before attaching anything, arrange the snowflakes on a flat surface and experiment with their spacing. A mix of larger statement snowflakes and smaller connecting pieces usually feels more balanced than repeating the same shape throughout.
Use wall-friendly tape to secure the strands above the mantel, keeping paper decorations well away from fireplace heat, flames, and vents. Always maintain a safe distance between any paper decor and heat sources, even if the fireplace is not in use. This simple step will give you peace of mind and help prevent any accidental fires while you enjoy your cozy winter decorations.
Even when the fireplace isn’t being used, the hanging snowflakes make the area feel inviting and ready for the winter season.

DIY Snowflake Winter Decorations for Interior Doorways
Interior doorways offer another wonderful opportunity to bring handmade winter ornaments into your home.
A doorway snowflake flurry creates a gentle transition between rooms, making the decorations feel like part of the entire house rather than something limited to the living room.
The idea is simple: hang strands of paper snowflakes across the upper section of an interior doorway, allowing them to fall at different lengths.
You can make the snowflakes from white cardstock and connect them with clear thread or twine. Choose a combination of patterns so each strand has its own character.
I prefer using clear thread when I want the snowflakes to look as though they’re floating. It keeps attention on the paper shapes instead of the hanging material.
Attach the strands along the top of the doorway using wall-friendly tape. Keep them high enough that people can pass through without touching the decorations.
For a lighter arrangement, hang just a few spaced-out strands. If you’re decorating for a festive gathering or simply want a more dramatic winter look, add more snowflakes across the upper opening.
You can also drape a snowflake garland along the top edge of the doorway instead of letting every strand hang vertically.
What makes this idea so appealing is that it works with doorways you already have. There’s no need to add furniture or rearrange the room.
The snowflakes create a charming seasonal detail that connects different areas of your home while keeping the decorating process simple.
Paper Snowflake Designs for Windows and Walls
Sometimes the simplest winter decorations are the ones that make the biggest difference.
Paper snowflakes attached to windows or walls are a classic example. They require very few supplies, and you can customize the patterns to suit almost any room.
I like this idea for areas where hanging decorations from the ceiling might not be practical. Instead of filling the room with dangling strands, you can create a pretty snowflake arrangement directly on an existing surface.
Begin by folding paper and cutting small shapes along the edges. When you unfold it, the cutouts reveal a symmetrical snowflake pattern.
Try making different designs rather than repeating the same pattern. Some can have bold, wide openings, while others feature smaller, more elaborate details.
For windows, arrange the snowflakes across the glass with enough space between them for each design to stand out. To keep them in place without making the display permanent, use removable adhesives such as painter’s tape, poster putty, or removable glue dots, all of which are generally safe for glass and easy to remove later without leaving residue.
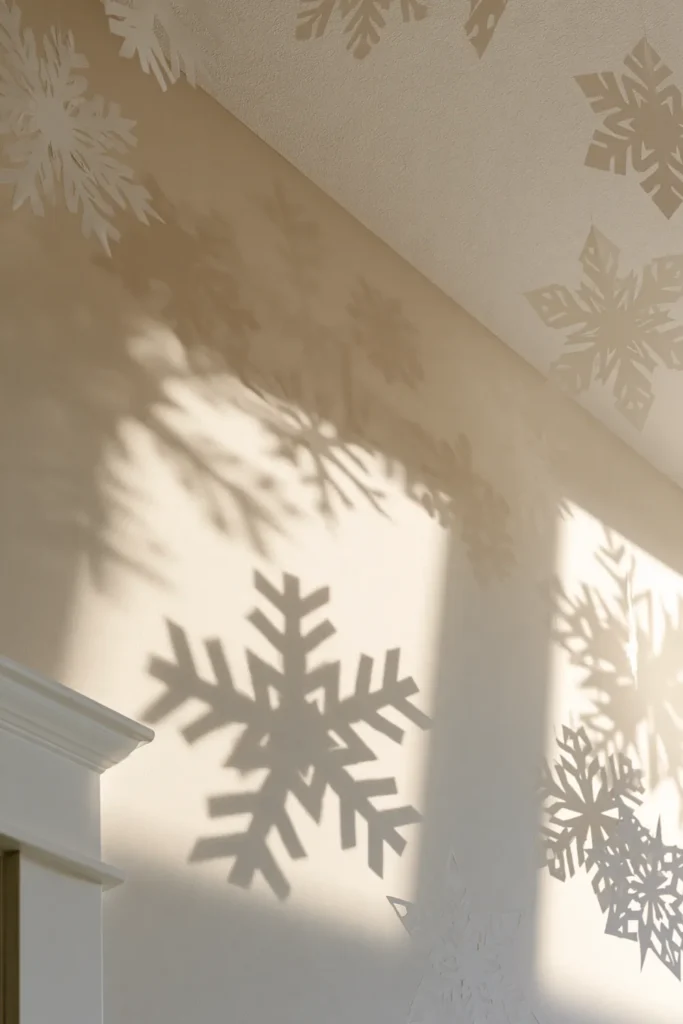
White paper looks especially striking against the darker view outside on winter evenings. During the day, the cutout patterns create a delicate decorative effect as natural light passes through the window.
Walls offer even more flexibility because you aren’t limited to the size or shape of a window.
You could create a loose cluster of snowflakes on an empty wall or spread them across a wider area to suggest drifting snowfall.
Keep the arrangement slightly irregular. A combination of different sizes and uneven spacing tends to look more relaxed than perfectly aligned rows.
If you’re decorating a painted wall, test your removable adhesive in a hidden area first to make sure it won’t damage the finish.
These paper snowflakes are easy to change, rearrange, or remove when the season ends. That’s part of why I enjoy them so much: they make winter decorating feel creative rather than complicated.
Bringing a Little Winter Magic Into Your Home
Creating a beautiful winter atmosphere doesn’t have to involve expensive decorations or a complete seasonal makeover.
Sometimes a handful of carefully cut paper snowflakes hanging in a doorway can cause a room to feel just as special as a much larger display. A hallway filled with floating snowflakes brings a fun touch, while delicate garlands above the mantel offer something softer and more understated.
I love that these DIY snowflake winter decorations can be adapted to different spaces and decorating styles. You can leave everything simple with white paper and clear thread or introduce a little extra texture with handmade beaded ornaments. For even more variety, try experimenting with glitter for a sparkling effect, metallic paper for a contemporary touch, or even dried flowers to add a natural and unanticipated twist. These options give you lots of ways to personalize your snowflakes so they feel completely unique.
My suggestion is to begin with the space you notice most often. Maybe it’s the hallway you walk through every morning, the living room where you relax in the evening, or a window that could use a little seasonal charm.
Choose the idea that feels right for your home, gather a few basic materials, and enjoy making something with your own hands.
After all, some of the most memorable winter decorations aren’t the ones we buy. They’re the little things we take the time to create ourselves.