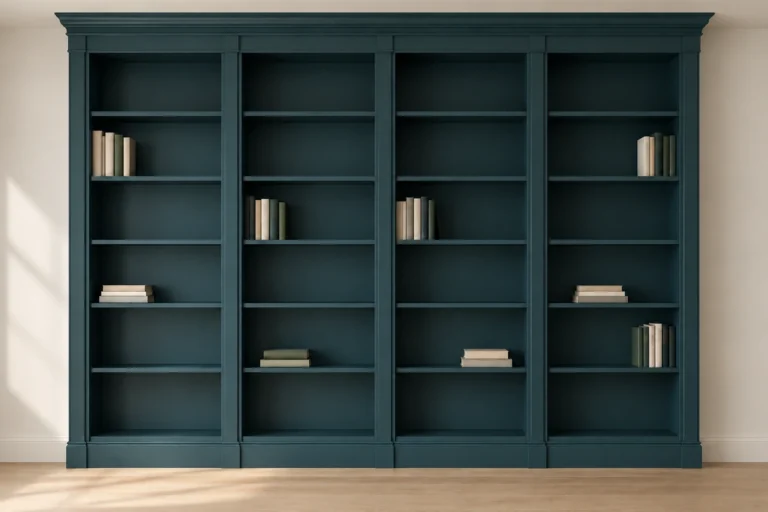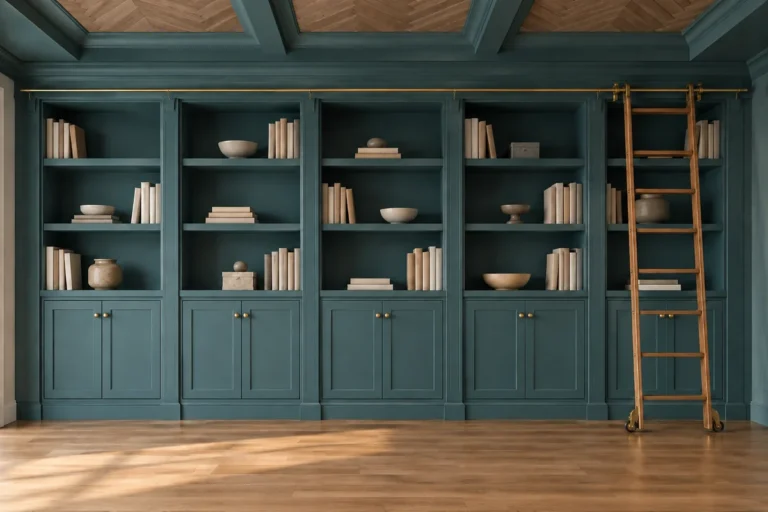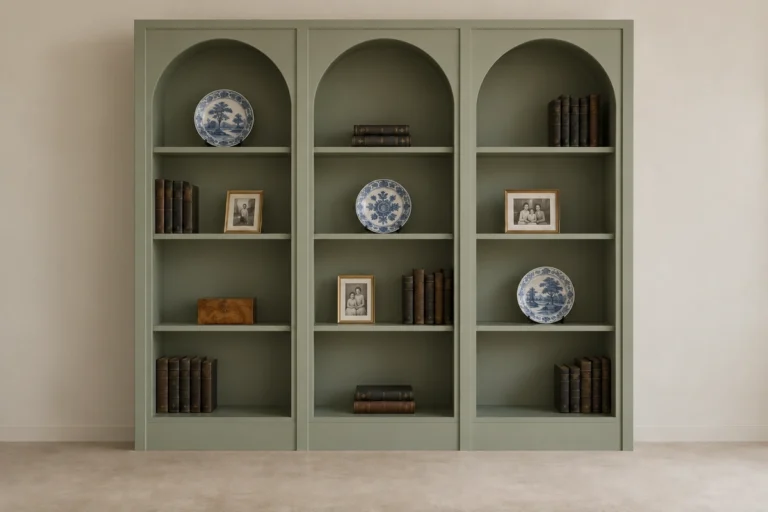

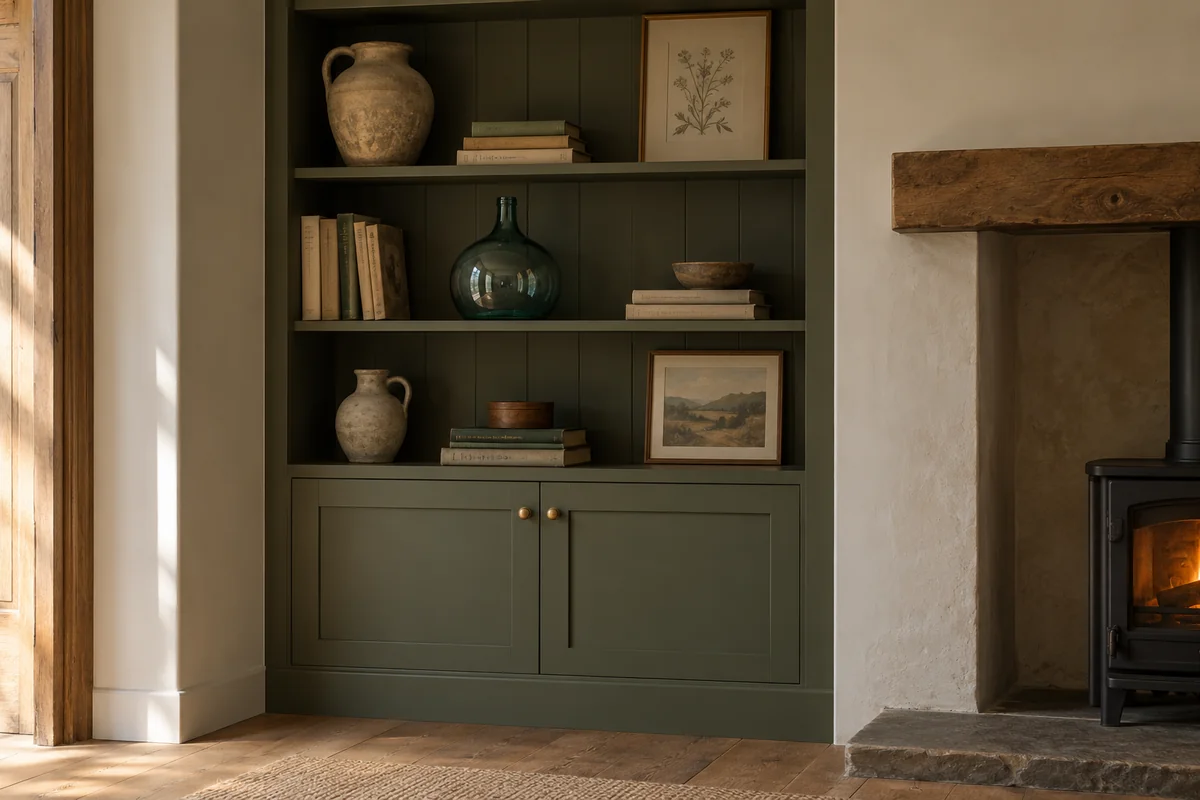
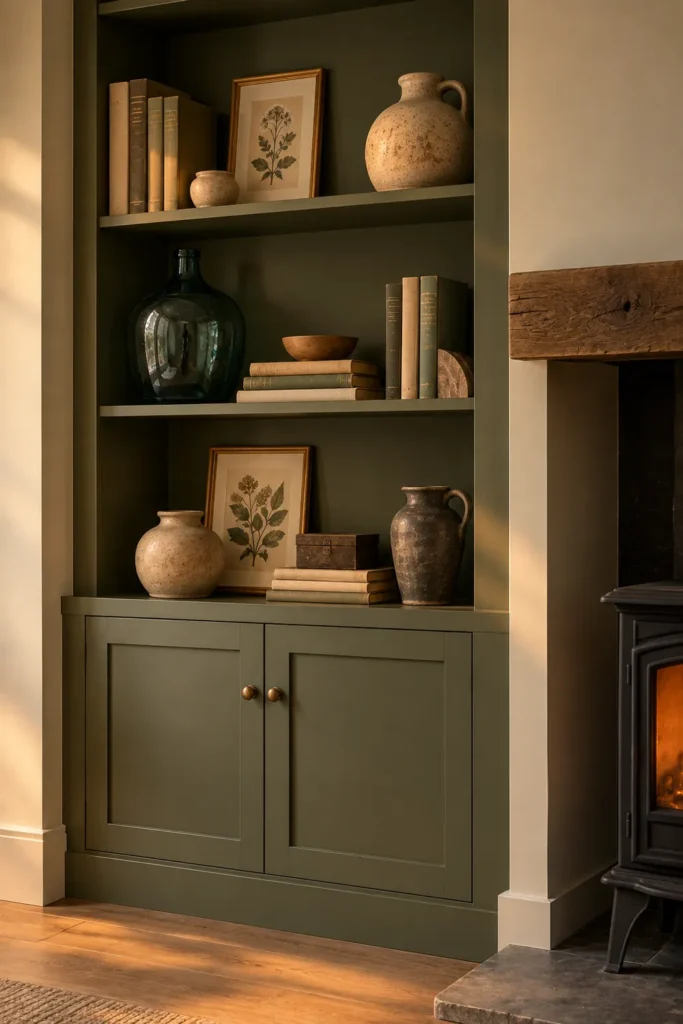
Deep olive alcove shelving can make a stove-side corner feel connected to the architecture instead of looking like a separate piece of furniture. The idea here combines open shelves, simple Shaker-style lower doors, aged brass hardware, and earthy decorative pieces into one calm built-in composition.
The working prototype is planned at 48 inches wide, 16 inches deep, and 96 inches high, with approximately 14-inch-deep shelves and a lower cabinet section. Those dimensions provide a useful design reference, but the actual alcove must be measured before cutting or installation begins.
If your alcove is a different size, adjust the prototype measurements to fit: for example, reduce the width for a narrower space and check shelf spans to make sure they remain sturdy, or increase the width and consider adding vertical dividers for support. For shallower alcoves, decrease the shelf depth so items do not overhang, while a lower ceiling may require reducing the overall unit height and balancing the proportion of open shelving and closed storage. Taking time to customize the dimensions to your specific alcove will ensure the built-in looks intentional and fits well.
This guide follows the project in order: checking the stove area, measuring the alcove, picking materials, using the drawings and model, preparing the components, assembling the cabinet, applying the olive finish, and styling the completed shelving. Stove clearances, wall conditions, anchoring, services, and other site-dependent details still require verification before physical work.
Why Deep Olive Alcove Shelving Works Beside a Stove
The strongest part of this idea is the relationship between the shelving and the room around it. Deep olive paint gives the alcove visual weight, helping the built-in feel like part of the wall rather than a cabinet placed against it. Beside a wood-burning stove, that darker color also supports the warm, grounded character of the setting.
The shelving is divided into two useful zones. Open shelves provide space for books, artwork, vessels, and collected objects. Below them, Shaker-style cabinet doors keep less decorative items out of sight and give the lower section a more settled appearance.
The styling works because it uses variation without becoming busy. Matte stoneware adds a quiet, handmade texture. Botanical prints bring a natural subject into the arrangement, while a blue-green glass demijohn delivers a cooler color and a little transparency. Books add height and visual structure, and aged brass knobs provide a small warm contrast against the olive paint.
A linen-shade lamp and a nearby French bergère chair can soften the corner further. These are room-styling elements rather than fixed parts of the shelving construction, so they can be adjusted according to the actual room and the safe operating conditions around the stove.
Check the Stove-Side Conditions Before Planning the Build
Before choosing final dimensions or preparing materials, inspect the area around the stove carefully. The shelving may look straightforward, but the stove, flue, wall, floor, trim, and nearby services all affect what can actually be built.
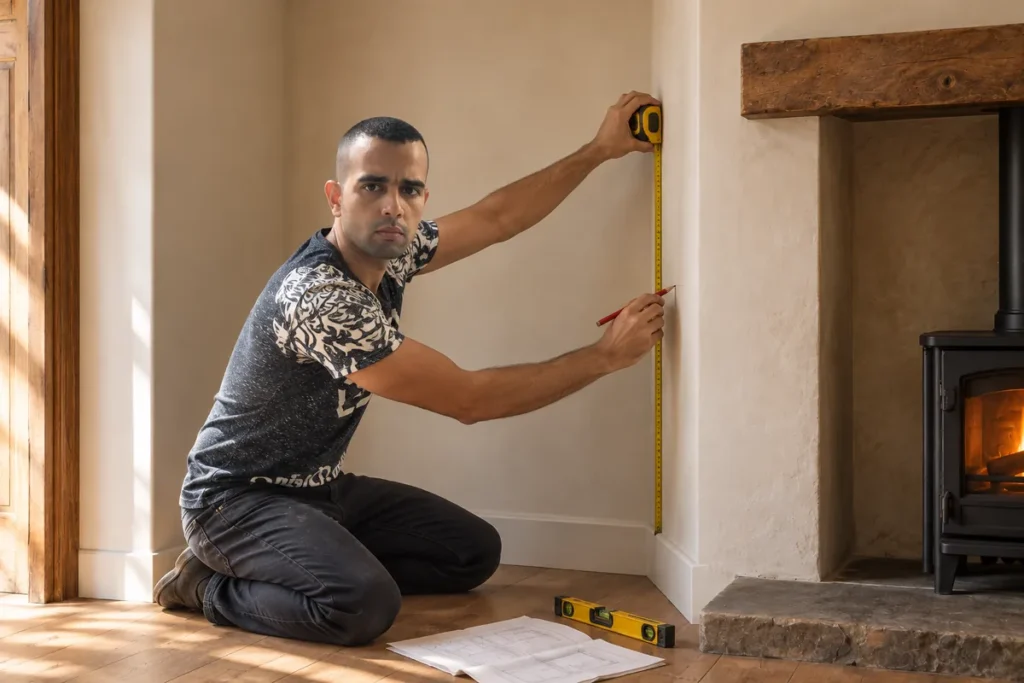
Start by recording the existing alcove width, depth, and height. Check whether the walls are plumb and whether the floor is level. Note skirting boards, moldings, outlets, switches, vents, pipes, flue routes, and any access points that could interfere with the cabinet.
The stove manufacturer’s clearance requirements must take priority over the prototype layout. Confirm the required distance between the stove, flue, combustible materials, painted surfaces, shelving, and decorative objects.
As a starting point, many wood-burning stoves require clearance of at least 12 to 18 inches (300 to 450 mm) from combustible materials at the sides and back, and 18 inches or more above the appliance, but you must check your stove’s manual, as requirements vary. Noncombustible surfaces such as brick or tile can sometimes reduce required clearance, but only if approved by the manufacturer and local codes. Local building or fire-safety requirements may also apply, so a qualified installer or relevant local professional should review the arrangement where necessary. For detailed guidance, refer to the installation instructions that came with your specific stove and consult relevant local codes or national standards for solid fuel appliances.
The wall itself needs attention too. Before deciding how the built-in will be secured, identify whether the fixing surface is masonry, timber framing, plasterboard, or another construction. The final anchoring method depends on that information and should not be assumed from the reference image or prototype model.
Also consider how the shelving will be used. Heavy books and stoneware create different loads from lightweight decorative objects. If the shelves will carry substantial weight, the support method and material thickness need to be confirmed during the detailed fabrication stage.
At this point, the goal is not to prove that the shelving fits. The goal is to identify the information that must be confirmed before the design becomes a real installation.
Set a Prototype Envelope, Then Measure the Real Alcove
The approved prototype provides a clear starting point for the design:
| Element | Prototype reference |
|---|---|
| Overall width | 48 in / 1219.2 mm |
| Overall depth | 16 in / 406.4 mm |
| Overall height | 96 in / 2438.4 mm |
| Approximate shelf depth | 14 in / 355.6 mm |
| Approximate lower cabinet zone | 31 in / 787.4 mm |
These dimensions are useful for understanding the proportions. The 48-inch width creates a relatively narrow vertical composition, while the 96-inch height allows the shelving to read as an architectural element. The lower cabinet gives the arrangement a visual base and provides concealed storage without interrupting the open shelf rhythm above.
They are not a substitute for measuring the real alcove. Measure the width at several heights because walls are not always parallel. Measure the depth from the finished face of the wall or trim, and record any areas where the available depth changes. Check the height at both sides and across the back, then use a level and straightedge to identify uneven surfaces.
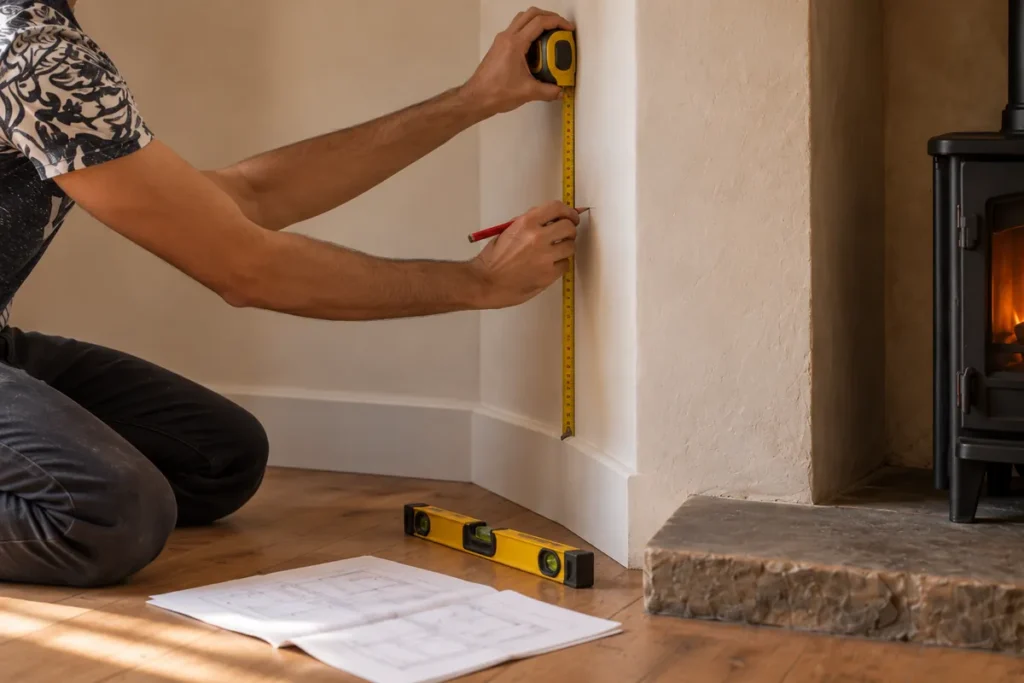
Mark the position of the proposed cabinet and shelf zones only after recording these conditions. If the stove or flue occupies part of the intended envelope, the shelving dimensions may need to change. The same applies to trim, outlets, access panels, or any service that must remain reachable.
The prototype should therefore be treated as a coordinated design reference. It helps you understand the intended proportions and prepare a useful plan, but the final build dimensions belong to the measured space.
Loading interactive drawing…
Select the Materials and Decorative Elements That Define the Look
The material palette is deliberately restrained. For the main structure, shelves, and lower doors, use a stable, paint-grade wood such as poplar, birch plywood, or medium-density fiberboard (MDF). These materials are widely available, take paint smoothly, and are suitable for most DIY builds. For the backing, thin MDF or plywood works well and provides a flat surface for painting. The main structure, backing, shelves, and doors should all read as one painted built-in rather than a collection of unrelated parts. A deep olive finish gives the unit its visual identity, while the Shaker door treatment keeps the lower section simple.
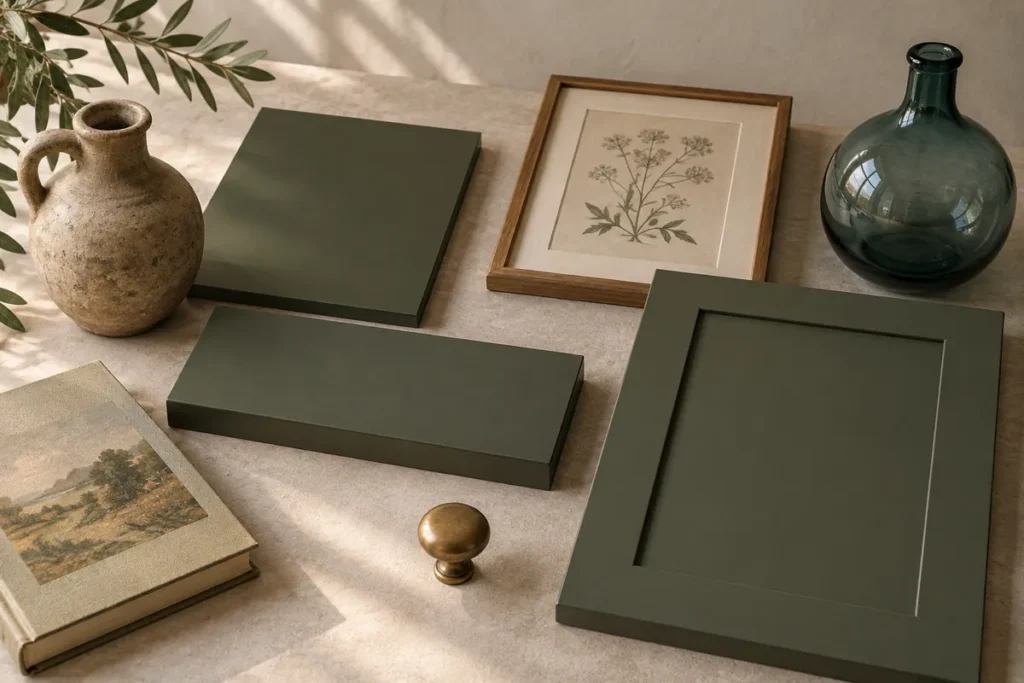
Aged brass round knobs add coziness without making the hardware too bright or formal. Their small scale also keeps the doors visually quiet. The final hardware size and fixing details should be confirmed with the selected product before drilling the doors.
For the open shelves, choose objects with different surfaces and silhouettes. Matte stoneware jugs can occupy the larger spaces, while books and framed botanical prints create flatter vertical layers. The blue-green glass demijohn works best as an occasional color note rather than a repeated accent.
Leave some open space between groups. The shelving will feel more settled when every shelf is not filled to the same density. Taller objects can be balanced with horizontal books or a low vessel, while artwork can be leaned or positioned to create a softer transition between the objects.
The lamp and bergère chair belong to the surrounding room arrangement. Include them only after confirming that their placement does not interfere with the stove, access, circulation, or electrical requirements. Their purpose is to support the atmosphere of the corner, not to determine the construction of the built-in.
Use the Drawings and Model While Planning Cuts and Assembly
Once the alcove has been measured, use the approved drawings to compare the prototype with the real space. The drawing set is most useful when it helps you make a decision, rather than when it is treated as a document to study separately.
Use the front elevation to understand the overall proportions, shelf rhythm, lower cabinet position, and door arrangement. The plan view helps you review the shelving depth and the relationship between the cabinet and the surrounding wall. The vertical section is useful for checking the backing, shelf levels, and the transition between the open and closed storage zones.
The 3D model adds another type of information. It lets you look at the shelving as a complete object and check how the sides, shelves, backing, doors, knobs, and decorative proxies relate to one another. This is especially helpful before fabrication because a proportion that looks acceptable in elevation may feel different when viewed from an angle.
Use the files as planning references while marking and preparing parts. An editable drawing can support later adjustments, while the review PDF provides a convenient visual reference. The editable 3D model is useful for geometry exchange and coordination, and its review sheets provide a quick way to inspect the overall arrangement.
Neither file proves that the shelving is suitable for the actual stove area. They do not verify the wall, anchoring, shelf loading, wiring, flue conditions, heat performance, or final installation. Those decisions still belong to the measured site and the appropriate specialist review.
Prepare, Cut, and Dry-Assemble the Shelving Components
After the site measurements and layout decisions are confirmed, prepare the main components. The prototype includes the cabinet structure, shelves, painted backing, lower doors, and visible hardware positions. The exact material thicknesses, substrate, and fastening method still depend on the selected construction approach and the real wall conditions.
In general, the basic assembly steps are as follows: Start by building the main carcass or outer frame of the shelving unit. Once the carcass is assembled and square, fix the painted backing in place. Install the shelves, checking that they are level and properly supported. Next, assemble and fit the lower cabinet section, including the Shaker-style doors. Finally, add the hardware such as brass knobs. Following this logical order will help keep the build organized and guarantee each part fits as intended.
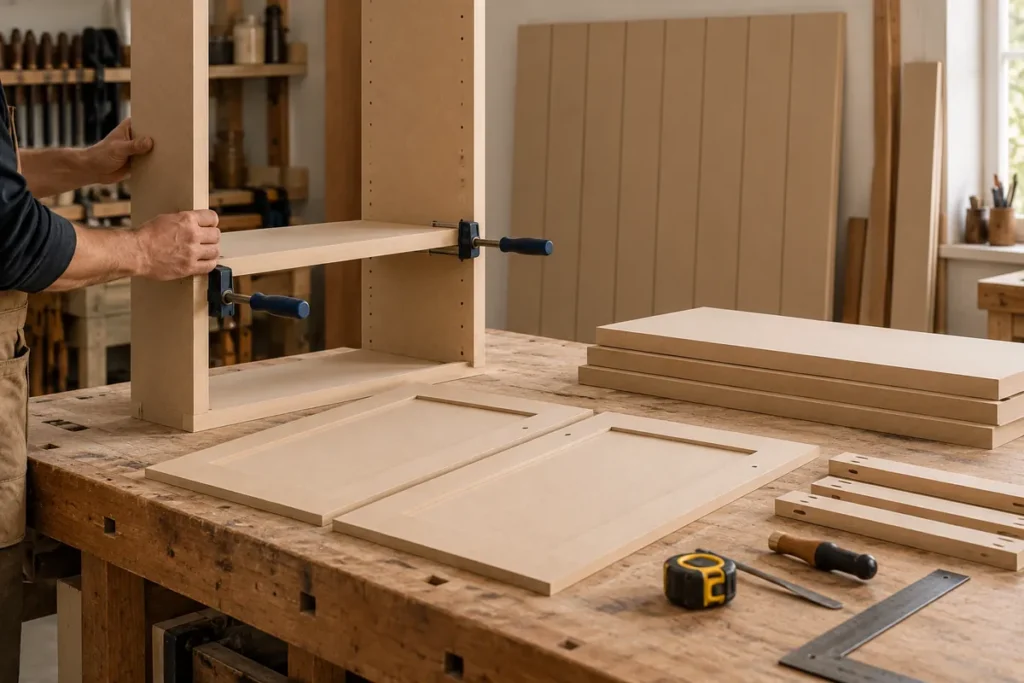
Mark each component carefully before cutting. Use the drawing views to maintain the relationship between the overall width, shelf depth, cabinet zone, and door layout. Label parts as you work so that similar-looking shelves or side panels do not become confused during assembly.
Prepare the backing and the main carcass pieces first, followed by the shelves and lower cabinet components. The Shaker-style doors need particular attention because small differences in their reveals will be visible once the unit is painted. Mark the intended knob positions, but avoid drilling final holes until the door layout and hardware choice have been checked together.
Before applying paint, dry-assemble the parts. This can be a complete temporary assembly or a staged check of the main sections, depending on the available work area. Confirm that the shelves sit at the intended levels, the cabinet remains square, and the doors have consistent gaps.
This is also the right time to identify problems that would be difficult to correct later. Look for twisted panels, uneven edges, misaligned backing, awkward access, and any interference with trim or services. If the measured alcove differs from the prototype, revise the parts before finishing rather than trying to hide the discrepancy with paint or styling.
Paint the Built-In Deep Olive and Fit the Brass Hardware
The deep olive finish works best when the visible parts read as one continuous built-in. Prepare the surfaces carefully, remove dust, and follow the preparation and curing requirements of the selected paint system. The backing, shelves, side panels, and lower doors should be planned as a coordinated finish rather than painted as unrelated pieces.
Paint the components in an order that allows you to handle them without damaging the finished faces. Edges, corners, and door details need enough coverage to remain consistent when viewed from the room. A sample or test area can help confirm how the olive color looks against the surrounding wall and the warm tones of the stove-side setting.
Allow the finish to cure sufficiently before final assembly or hardware fitting. Paint that feels dry on the surface may still be vulnerable to marks, pressure, or sticking doors. Use the product instructions as the authority for handling and curing time.
Fit the aged brass knobs after the door finish is ready to handle. Check their position against the door panels and confirm that both doors use the same centerline. The brass should provide a small point of warmth without overpowering the olive color or the objects on the open shelves.
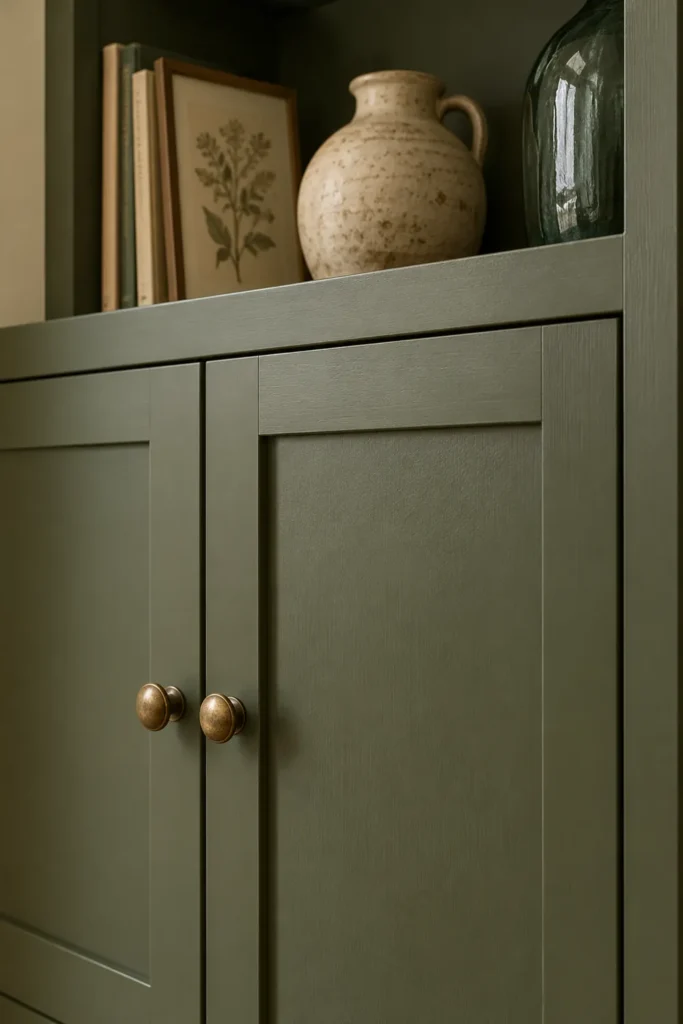
If the final hardware product differs from the prototype reference, adjust the hole positions and visual spacing to suit the actual hardware. The approved design establishes the intended appearance, but the selected product determines the real fixing details.
Install the Built-In, Then Review It Before Styling
Bring the finished sections into position only after the paint has cured, and the installation area has been checked again. Protect the floor and nearby surfaces while moving the components, especially if the shelving is tall or assembled in large sections.
Set the built-in in place and check it with a level. Review the vertical sides, shelf lines, cabinet base, door reveals, and the relationship between the unit and the surrounding trim. A small adjustment at this stage can make the finished result look much more settled.
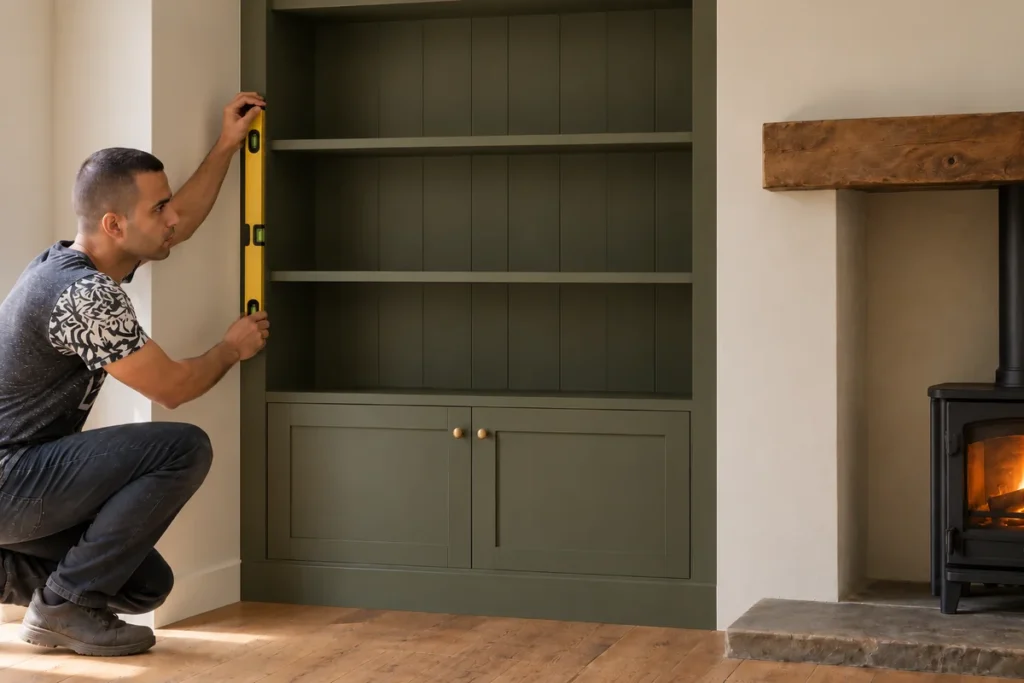
The fixing method must match the actual wall and floor construction. Do not assume that a fastening method suitable for one wall will work for another. Confirm the substrate, locate suitable fixing points, and obtain specialist advice where the wall, stove, flue, or structural conditions require it.
Before placing decorative objects, review the clearance and access zones around the stove and flue again. Keep the area required for operation, inspection, cleaning, and maintenance available. Decorative items should not be used to conceal unresolved installation questions.
Open and close the lower doors, check the knobs, and inspect the painted surfaces for marks or damage. Confirm that the shelves are stable and that the intended objects can be placed without forcing them into the space. Styling comes last because it should reveal a well-checked installation, not distract from problems that still need attention.
Style the Shelves With Stoneware, Botanical Art, Glass, and Books
Once the built-in is installed and checked, the styling can give the alcove its softer, more personal character. Start with the larger pieces and work toward the smaller details instead of placing objects randomly on every shelf.
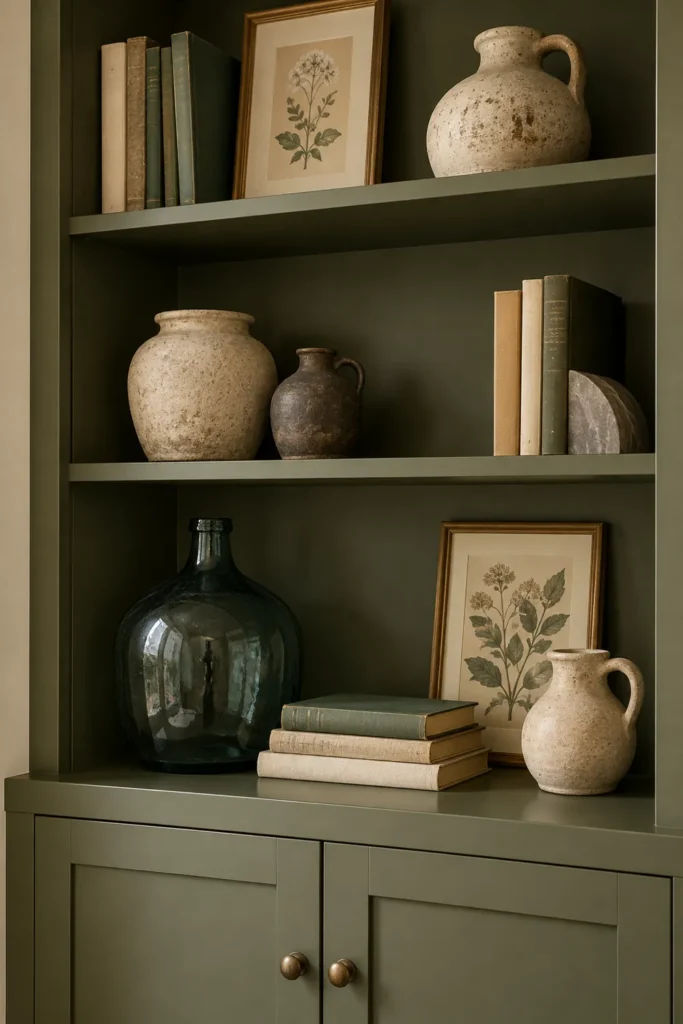
Stoneware jugs are useful anchors because their matte surfaces sit comfortably against deep olive paint. Place them where their shape can be appreciated, then balance their visual weight with books, a smaller vessel, or a framed botanical print. Avoid placing all the tallest objects on one side unless the surrounding room already provides a strong visual counterweight.
Botanical artwork adds a lighter, flatter layer behind the three-dimensional objects. Leaning a print against the backing may make the arrangement feel less formal, while a more upright position gives a shelf a clearer focal point. Books can be grouped vertically or stacked horizontally to create changes in height and direction.
The blue-green glass demijohn should act as a controlled color shift. Its transparency gives the shelves a different surface quality from the matte stoneware, but using too many similarly colored pieces could make the arrangement feel repetitive.
Leave areas of open space between groups. The olive backing is part of the composition, so it should remain visible rather than being covered on every shelf. A table lamp with a thick linen shade and a nearby bergère chair can complete the corner if their placement is suitable for the real room. For wider shelf-arranging guidance, the related living room bookshelf styling ideas can help with balance, spacing, and object grouping.
Adapt the Prototype to a Different Alcove Without Losing the Design Logic
The most useful part of this project is not the exact 48-by-16-by-96-inch envelope. It is the relationship between the elements. Deep color gives the alcove weight, open shelves provide display space, lower doors add concealed storage, and warm hardware keeps the result from feeling too severe.
If your alcove is wider, you may need to change the shelf span, add divisions, or reconsider the number of doors. If it is shallower, reduce the shelf depth only after checking the objects you want to display. If the ceiling is lower, preserve the visual balance between the open shelves and lower cabinet instead of simply scaling every dimension by the same percentage.
Measure the new space again before adapting the drawings. Recheck the stove or fireplace relationship, wall construction, trim, outlets, access, and any service routes. A different room may require a different installation method even when the visible design looks similar.
The decorative scheme can also change without weakening the idea. Stoneware may be replaced by another matte ceramic finish, botanical art can be exchanged for another quiet graphic layer, and the blue-green glass can become a different restrained accent color. The important point is to keep the arrangement varied but not crowded.
Use the prototype as a starting point for decisions, then let the actual space determine the final dimensions, materials, fixing approach, and object placement.
Build the Look Slowly, Then Check It Twice
Deep olive alcove shelving works because the design decisions support one another. The dark painted structure gives the alcove presence, the open shelves keep it useful for display, and the lower Shaker doors provide practical storage. Stoneware, books, botanical artwork, glass, brass, and linen then add enough variation to keep the corner warm and lived-in.
The safest way to approach the project is in sequence. To help you plan, here is a rough estimate of the time required for each main stage:
– Checking the stove area and reviewing site conditions: 1–2 hours
– Carefully measuring the alcove: 1 hour
– Comparing measurements with the prototype drawings and reviewing proportions in the model: 1 hour
– Selecting and preparing materials: 1–2 hours, depending on material availability
– Cutting and preparing shelving components: 2–4 hours
– Dry-assembling the main sections: 1–2 hours
– Painting and finishing surfaces (permitting drying/curing time between coats): 1–2 days total
– Final assembly and hardware fitting: 2–3 hours
– Installation in the alcove: 1–2 hours
– Final level checks, door and shelf adjustments: 1 hour
– Styling and arranging the shelves: 1–2 hours
These estimates are for a typical DIY project and may vary depending on your experience, tools, and the complexity of your room. For a weekend project, expect the work to stretch across several days to allow for drying and careful fitting, but many stages can be completed in shorter focused sessions.
After installation, check level, access, door operation, shelf stability, and the relationship to the stove before placing decorative objects.
Stove clearances, wall conditions, anchoring, structural support, electrical work, as well as any required specialist installation should be confirmed by the appropriate qualified professional. The drawings and 3D model make the design easier to understand and coordinate, but they cannot replace those site checks.
Once the practical conditions are resolved, the design can be adapted with confidence. Keep the olive architectural backdrop, the simple lower storage, and the quiet mix of natural textures, then adjust the dimensions and styling to suit the space you actually have.